
Previously, we looked at how to use GridGain® and Kafka® using a local installation. Let’s now look at an example where we deploy in the Cloud. We will use the GridGain Cloud and the Confluent Cloud environments.
If you'd like to follow along with this example, ensure that you meet the required prerequisites first:
- Create an account on the GridGain Cloud
- Create an account on the Confluent Cloud
- Download the sample Java code from GitHub
Confluent Cloud
Let’s begin with the Confluent Cloud setup first. To deploy Kafka in the Confluent Cloud, we need to install the CLI and configure a topic. The Confluent Cloud Quick Start guide provides all the necessary instructions.
We’ll follow steps 1 and 2, as described. At step 3, we’ll create the following topic:
ccloud topic create sensors_temp
Our example will simulate sensor data that are being generated (produced) and subsequently captured (consumed) for further analysis.
Note that there is a cost per hour associated with launching a Confluent Cluster with a monthly billing cycle.
GridGain Cloud
First, we’ll need to create a new project in an IDE using the pom.xml file that is provided with the sample Java code from GitHub, as shown in Figure 1.
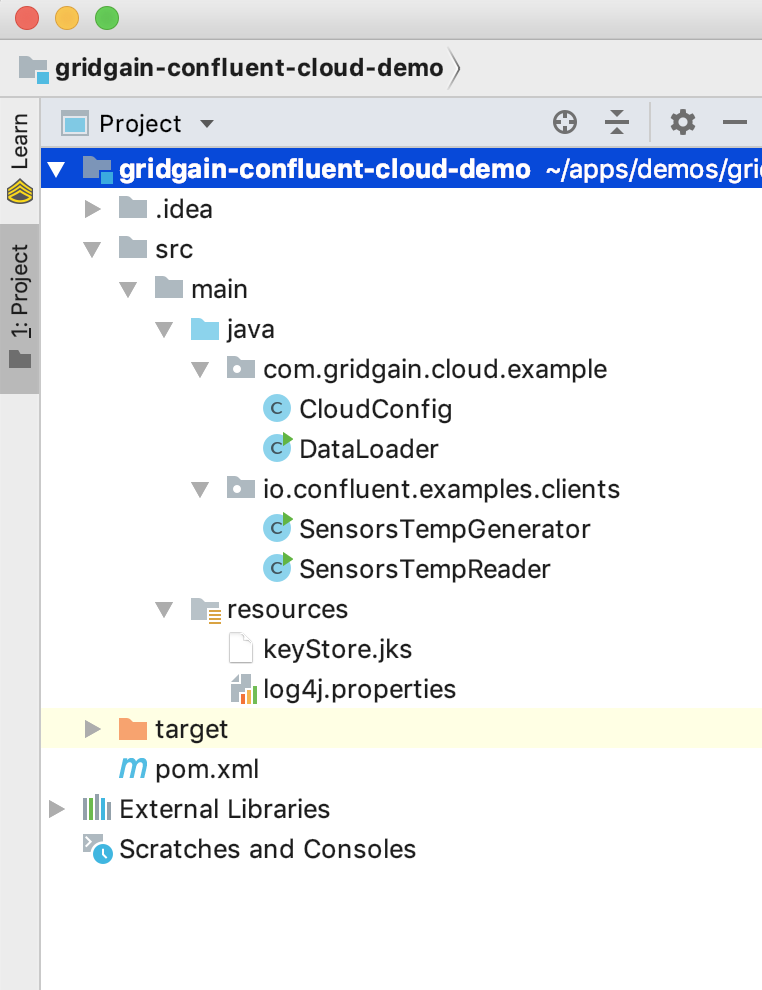
Figure 1. IDE Project.
Next, we’ll deploy a GridGain Cluster in the GridGain Cloud. The Getting Started guide provides all the necessary instructions. We’ll use the free tier.
Once the cluster is running, we can get further information by clicking on the cluster name, as shown in Figure 2.
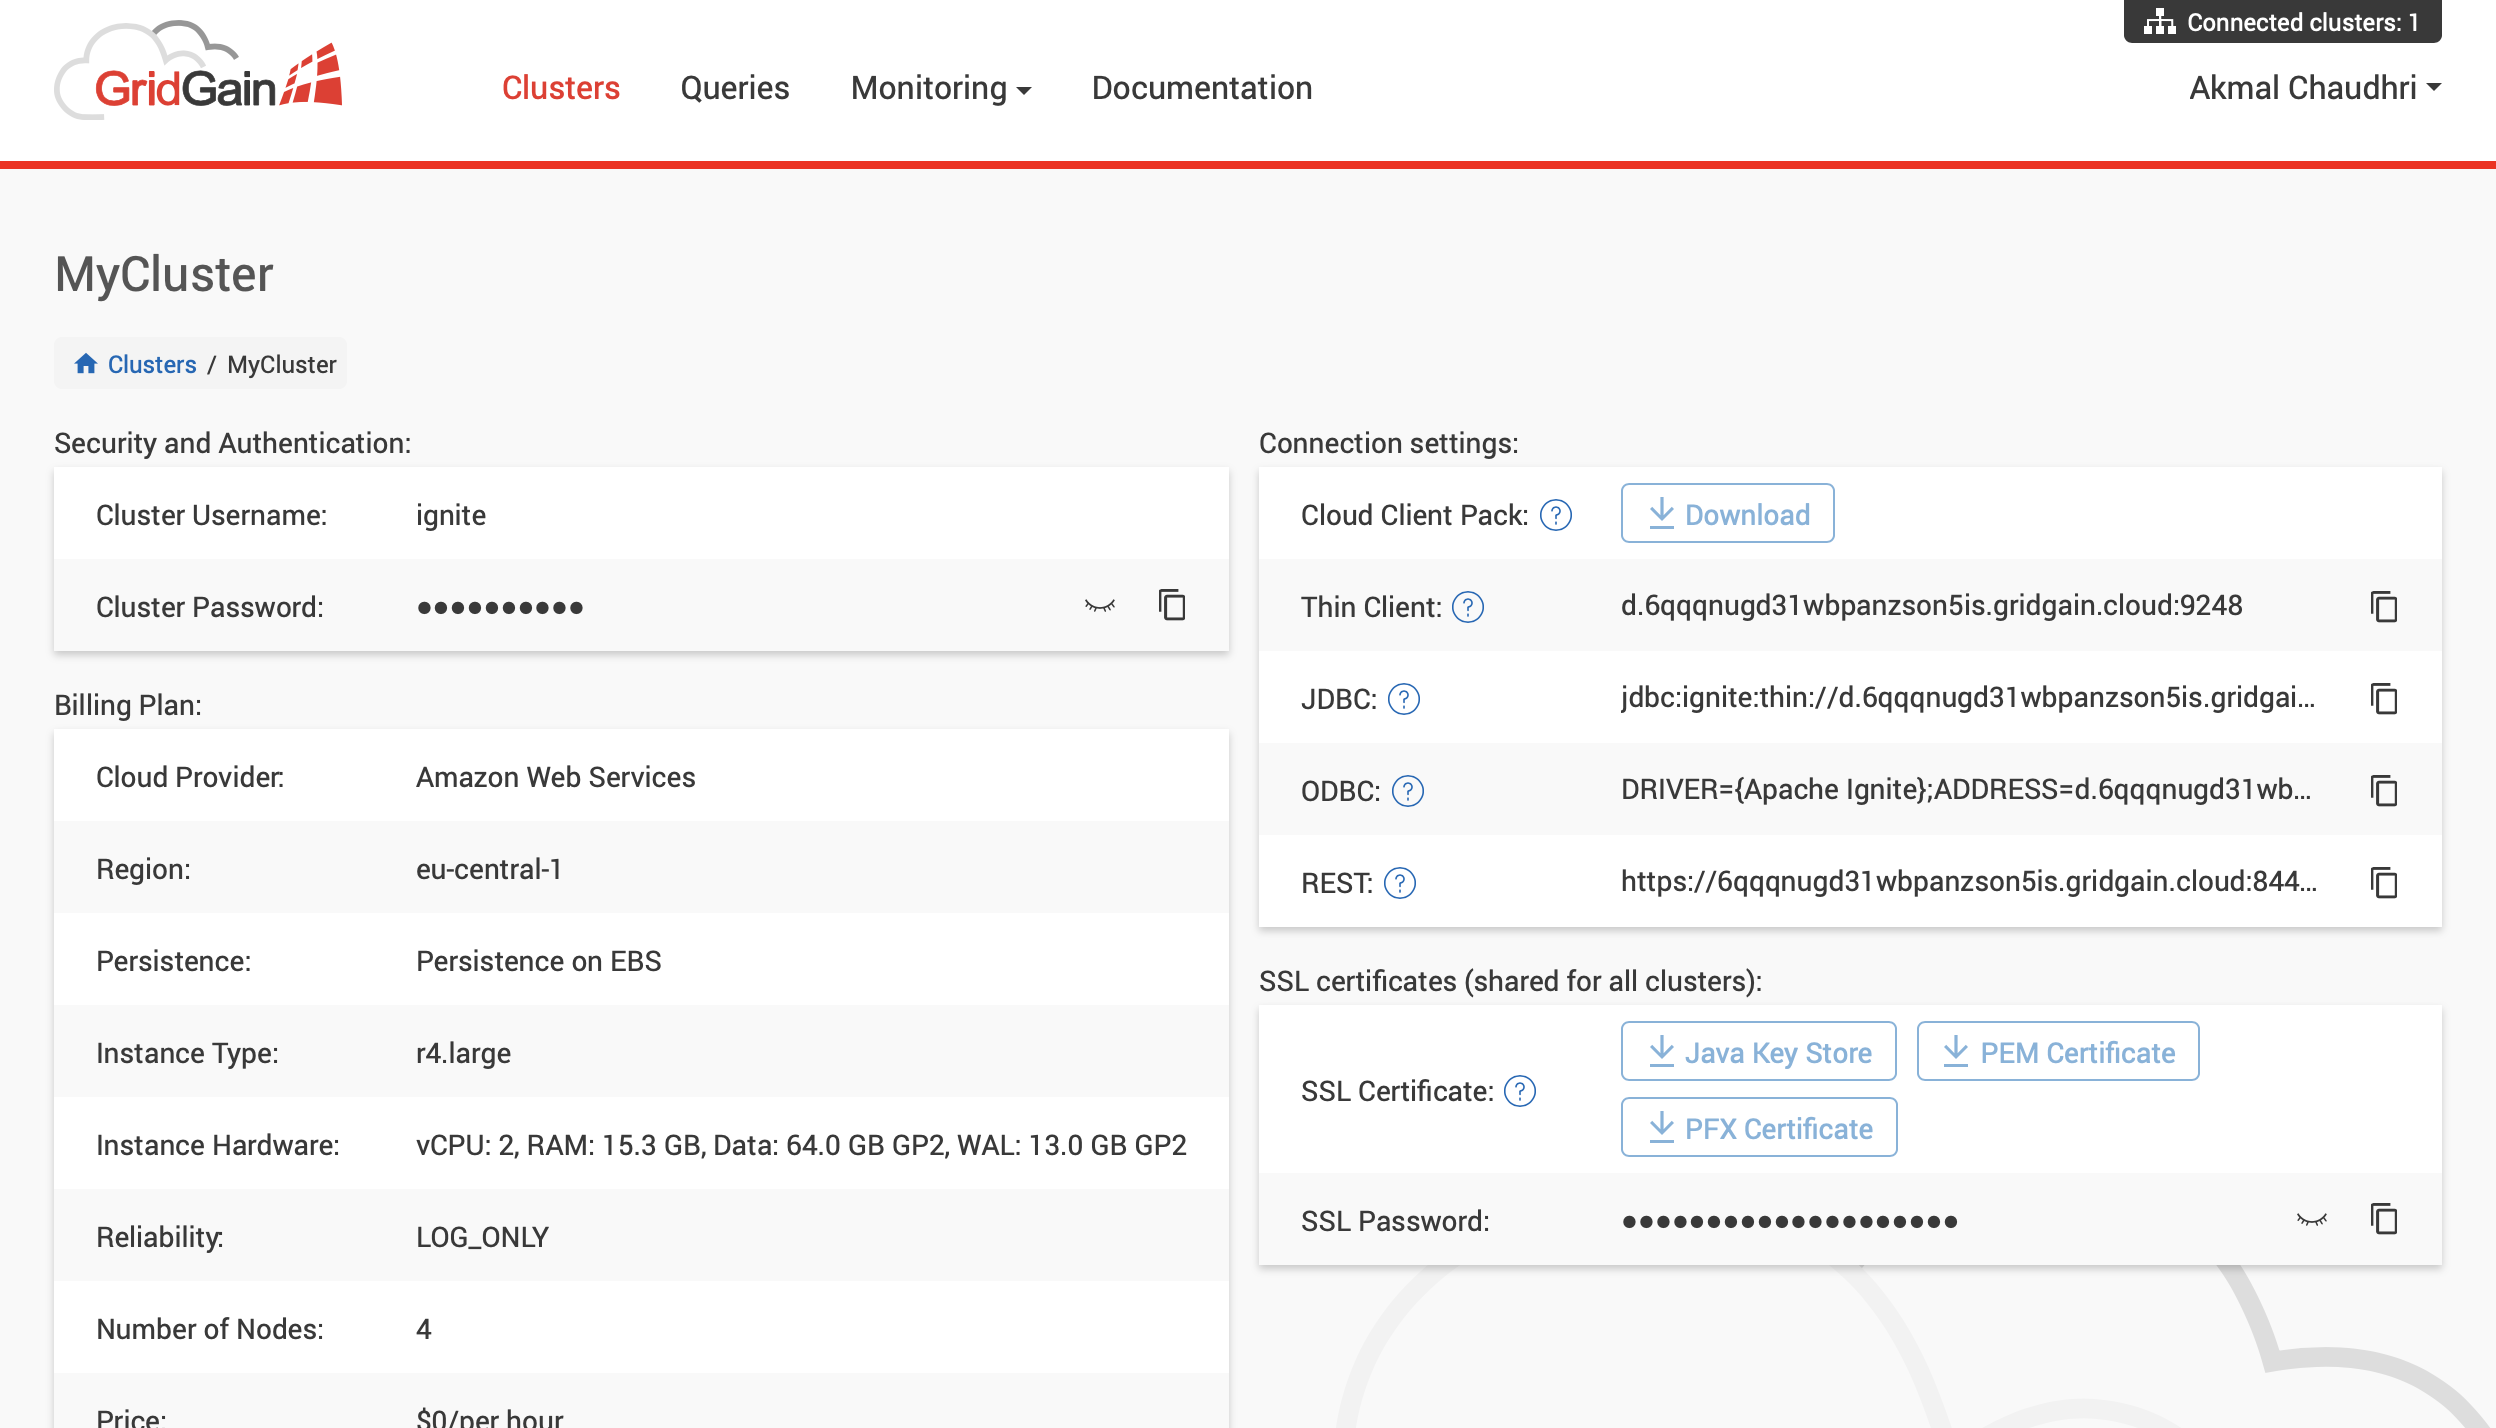
Figure 2. GridGain Cluster Information.
We need the following information from the cluster information page:
- Thin Client URL
- Cluster Username
- Cluster Password
- SSL Password
Next, we need to plug these four values into the CloudConfig class in our Java code and save the changes.
Now we’ll download the Java Key Store and save the keyStore.jks file in the resources directory in our project.
We’ll now create Sensor and Temperature tables in our GridGain cluster by running the DataLoader class. We can check that the tables have been correctly created by using Monitoring > Dashboard from the GridGain Cloud Console, as shown in Figure 3.
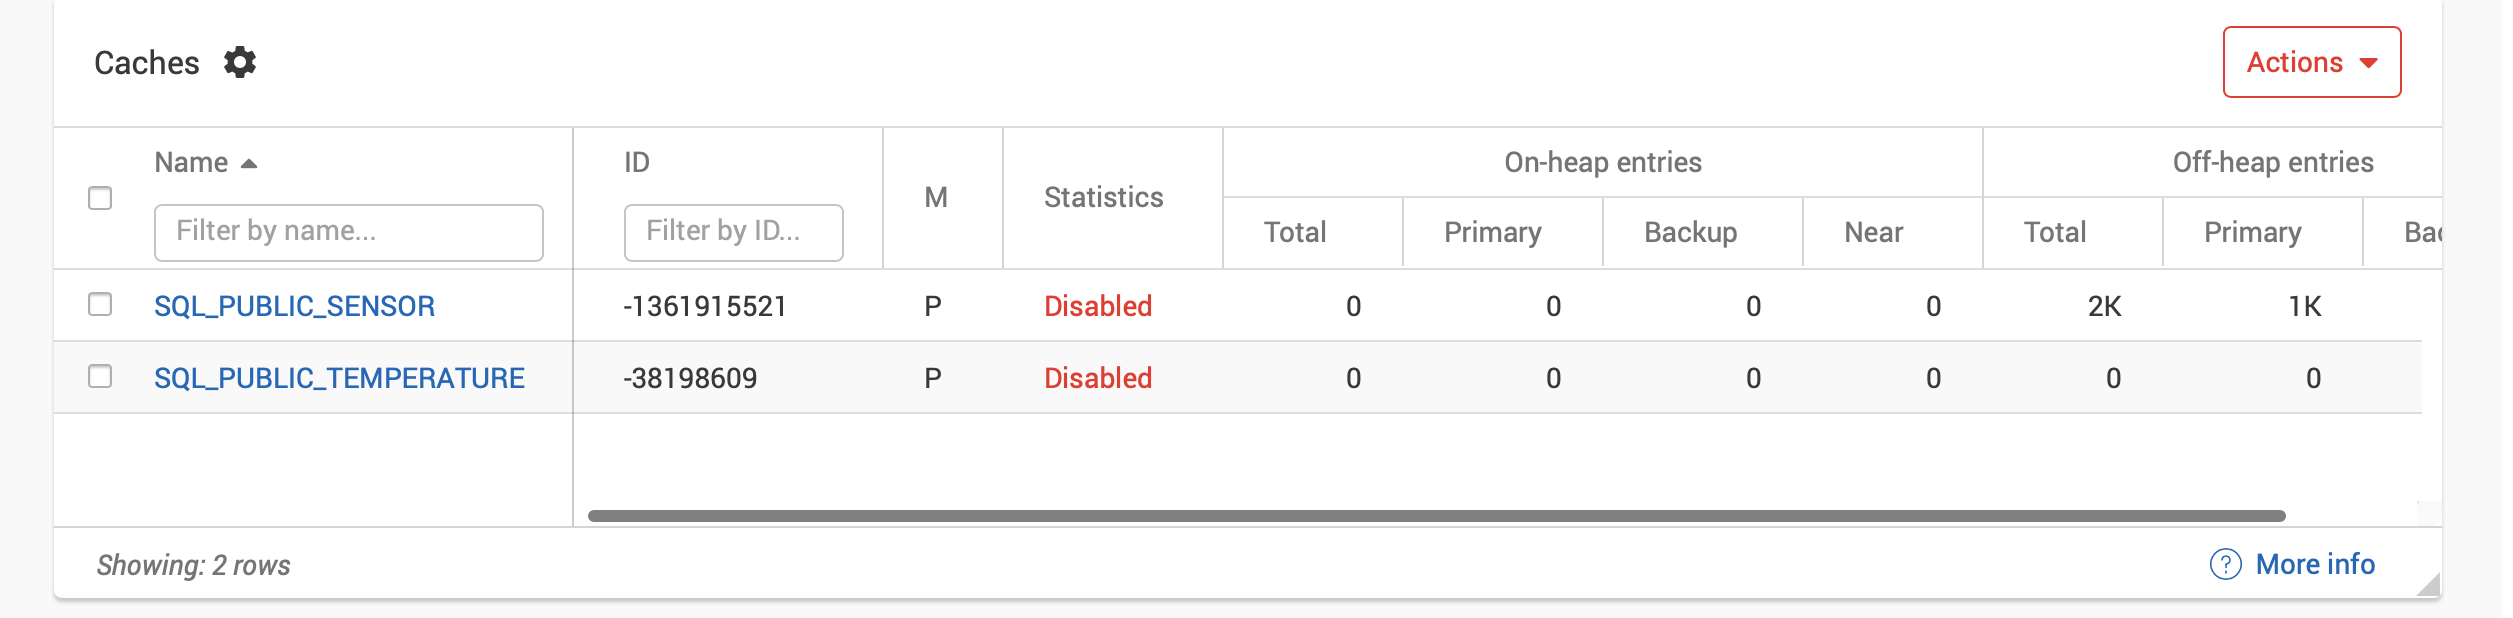
Figure 3. GridGain Tables.
From the command line, we’ll navigate to the gridgain-confluent-cloud-demo directory and build everything from sources using:
mvn clean package
Run Producer
We’ll run the producer from the gridgain-confluent-cloud-demo directory, as follows:
mvn exec:java -Dexec.mainClass="io.confluent.examples.clients.SensorsTempGenerator" -Dexec.args="$HOME/.ccloud/config sensors_temp -1"
The output should be similar to Figure 4.
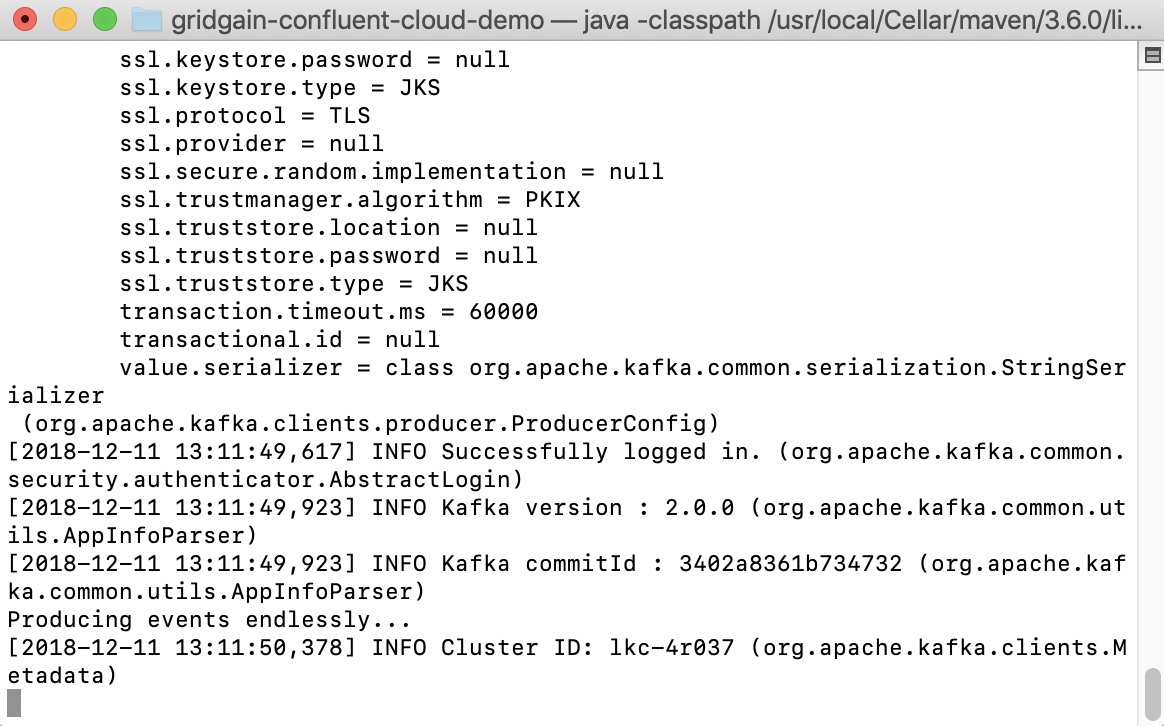
Figure 4. Producer Output.
Run Consumer
In another terminal window we’ll run the consumer from the gridgain-confluent-cloud-demo directory, as follows:
mvn exec:java -Dexec.mainClass="io.confluent.examples.clients.SensorsTempReader" -Dexec.args="$HOME/.ccloud/config sensors_temp"
The output should be similar to Figure 5.
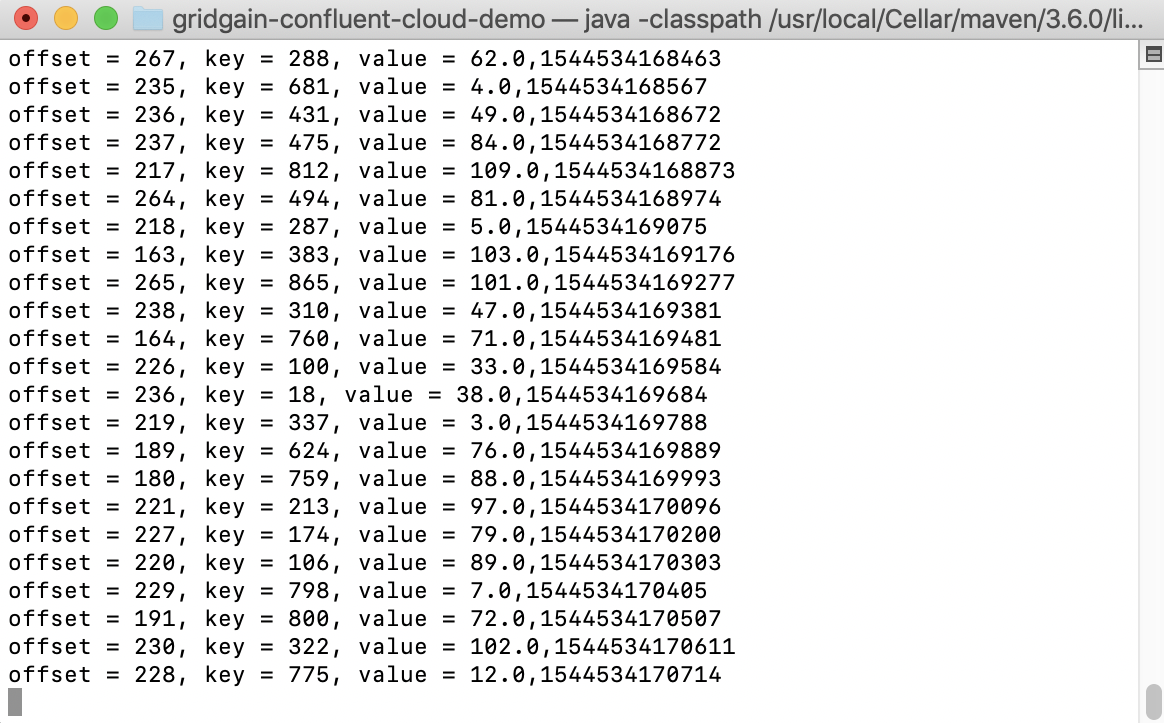
Figure 5. Consumer Output.
We can check that the Temperature table is receiving data by using Monitoring > Dashboard from the GridGain Cloud Console, as shown in Figure 6.
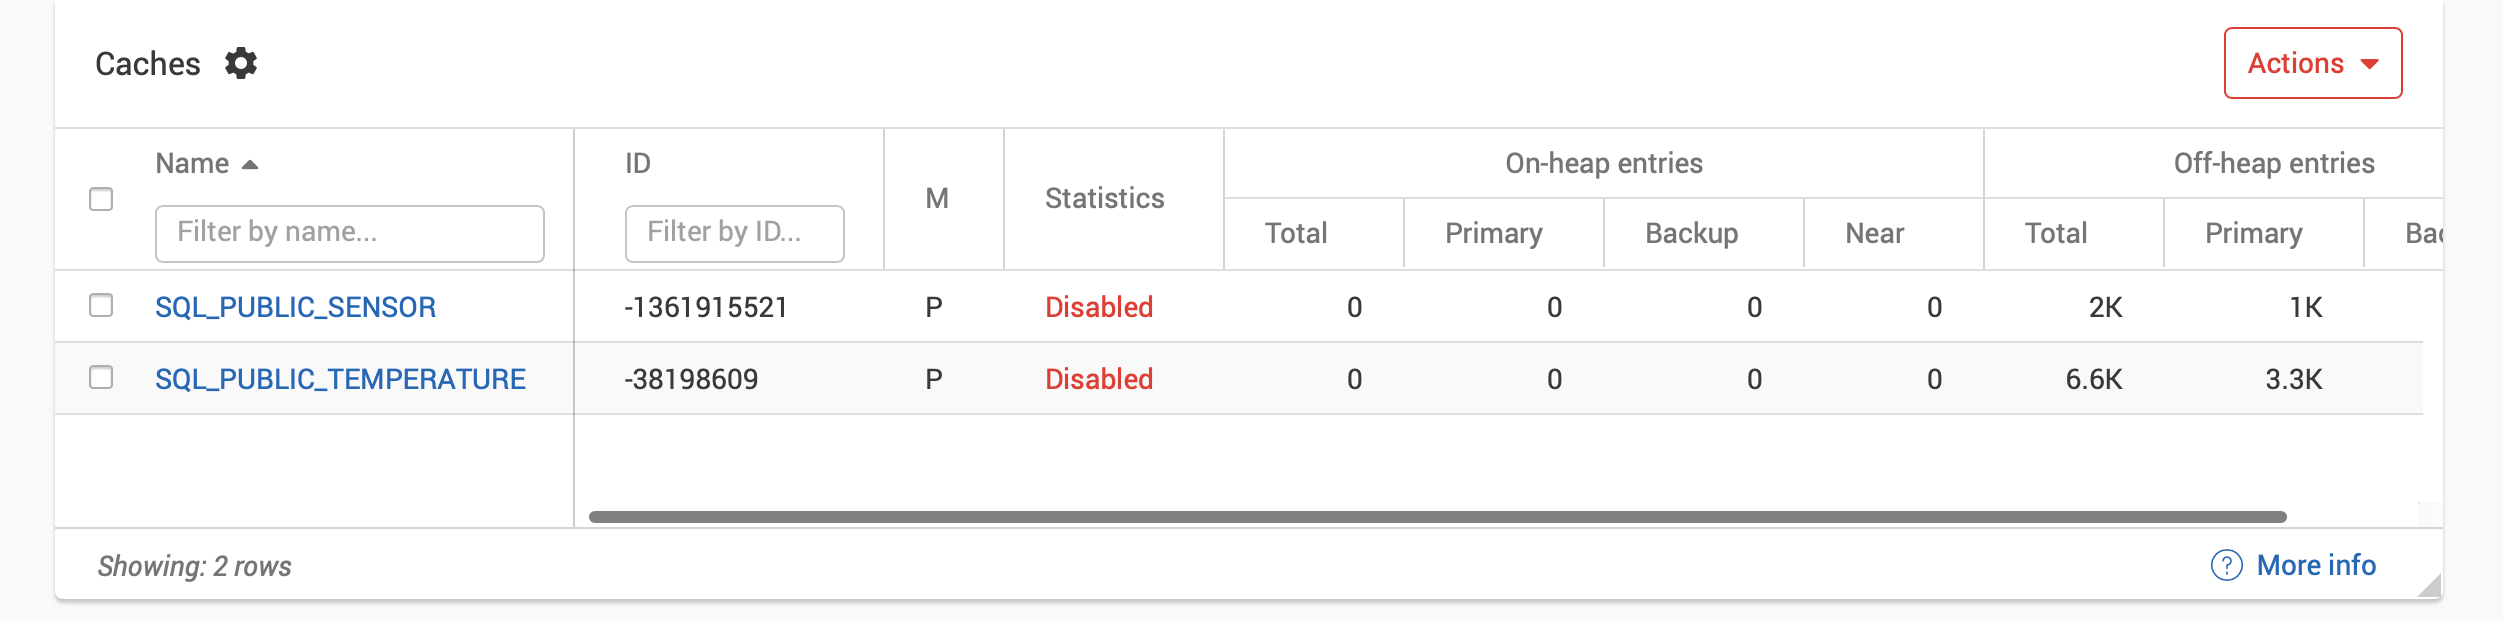
Figure 6. GridGain Tables.
If we compare Figure 6 with Figure 3, we can see that the Temperature table has grown larger.
SQL Queries
Now we can try some SQL queries from the GridGain Console. From the Queries tab, we’ll create a new notebook and run the following queries and view the output:
SELECT *
FROM Sensor
LIMIT 10;
SELECT sensorId, count(*)
FROM Temperature
WHERE temp > 70 AND temp < 100
GROUP BY sensorId
ORDER BY sensorId;
SELECT MAX(temp) AS mtemp, sensorId
FROM Temperature AS t
JOIN Sensor AS s ON t.sensorId = s.id
WHERE s.latitude >= 24.7433195 AND s.latitude <= 49.3457868 AND
      s.longitude >= -124.7844079 AND s.longitude <= -66.9513812
GROUP BY sensorId
ORDER BY mtemp DESC;
These are examples of the types of queries we may wish to run on the sensor data, using ranges and latitude/longitude, for example.
Stop the Example
To stop the example, we can remove the topic from Confluent Cloud:
ccloud topic delete sensors_temp
and delete the existing Temperature table values from GridGain Cloud:
DELETE FROM Temperature;
When we are finished with the Cloud environments, we can also delete our clusters on Confluent Cloud and GridGain Cloud.
Summary
In this second article, we have seen the ease with which we can use GridGain with Kafka using cloud environments. The sensor data example represents just one possible use-case where we can receive data, store it in GridGain, and then perform analysis on the data using SQL.