
Introduction
Apache® Ignite™ provides support for a number of major programming languages. Recently, support for additional programming languages has also been added using what is termed as a Thin Client. New Thin Clients include Python, PHP and Node.js.
The characteristics of a Thin Client are as follows:
- It is a lightweight Ignite client that connects to a cluster using a standard socket connection.
- It does not become a part of the cluster topology.
- It never holds any data.
- It is not used as a destination for Compute Grid calculations.
In summary, a Thin Client just establishes a socket connection to a standard Ignite node and performs all operations through that node.
In this article, we'll focus on Node.js and see how we can quickly use this with Ignite.
Prerequisites
In order to use Node.js with Ignite, we need the following:
- Node.js v8 or higher.
- Ignite v2.7 or higher.
In the following examples, we will use an Apple® Macintosh computer running macOS® Mojave.
Installation
We'll use the binary distribution of Ignite which can be downloaded directly from the Apache Ignite download page.
An easy way to install Node.js on macOS is to use Homebrew. This is as simple as typing the following in a terminal window:
brew install node
Once the installation is complete, we can check the software version as shown in Figure 1.
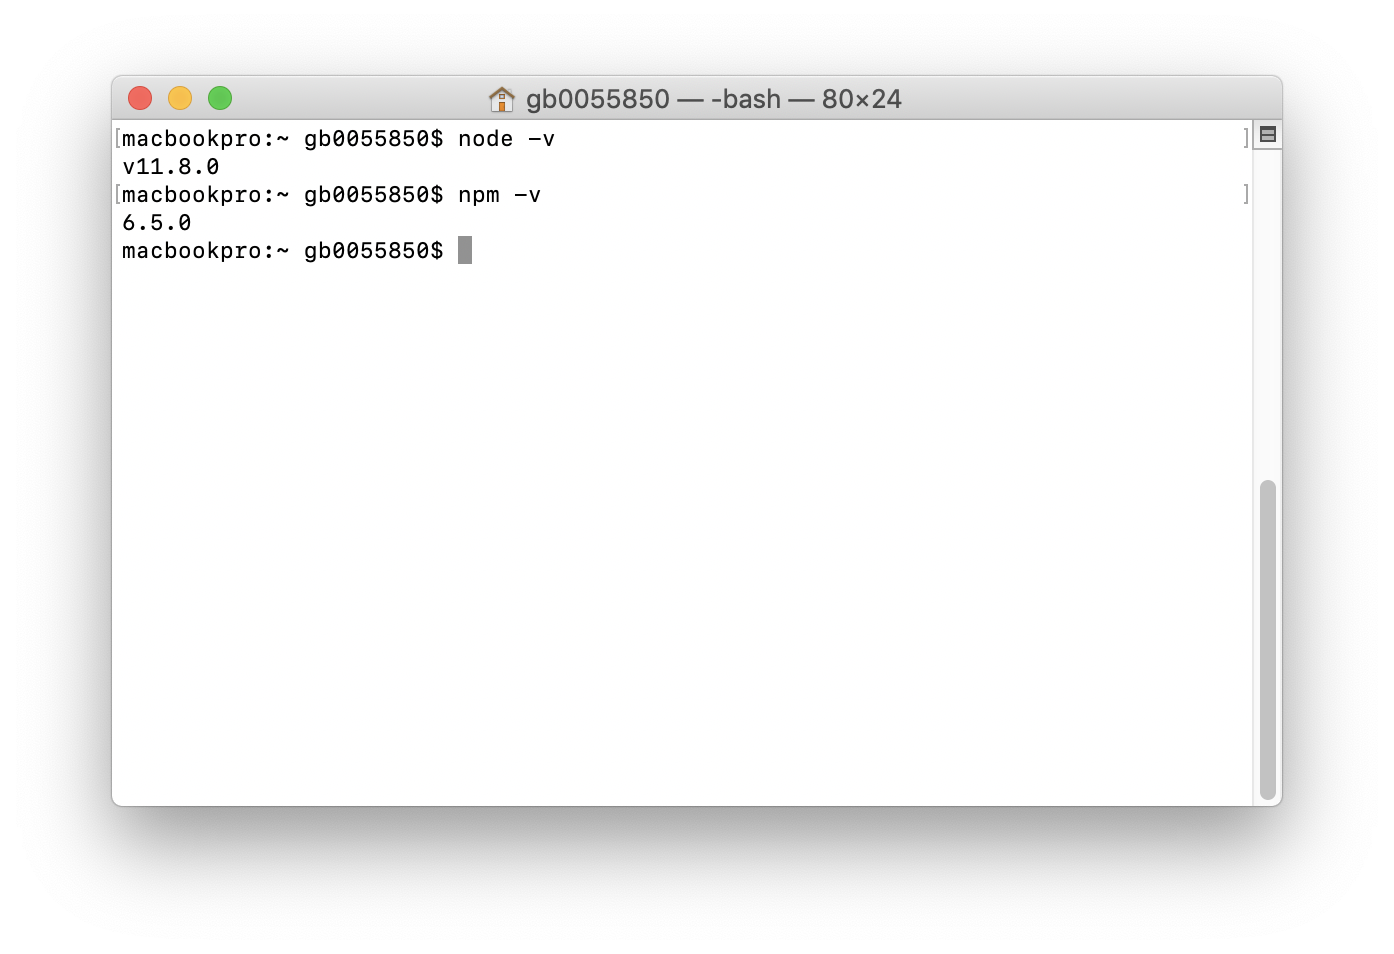
Figure 1. Check Software Version.
Node.js source code or installers for other operating systems can also be downloaded from the Node.js web site.
Next, we need to install the Node.js Thin Client package for Ignite. The quickest way to do this is as follows from a terminal window:
npm install -g apache-ignite-client
The output should be similar to Figure 2.
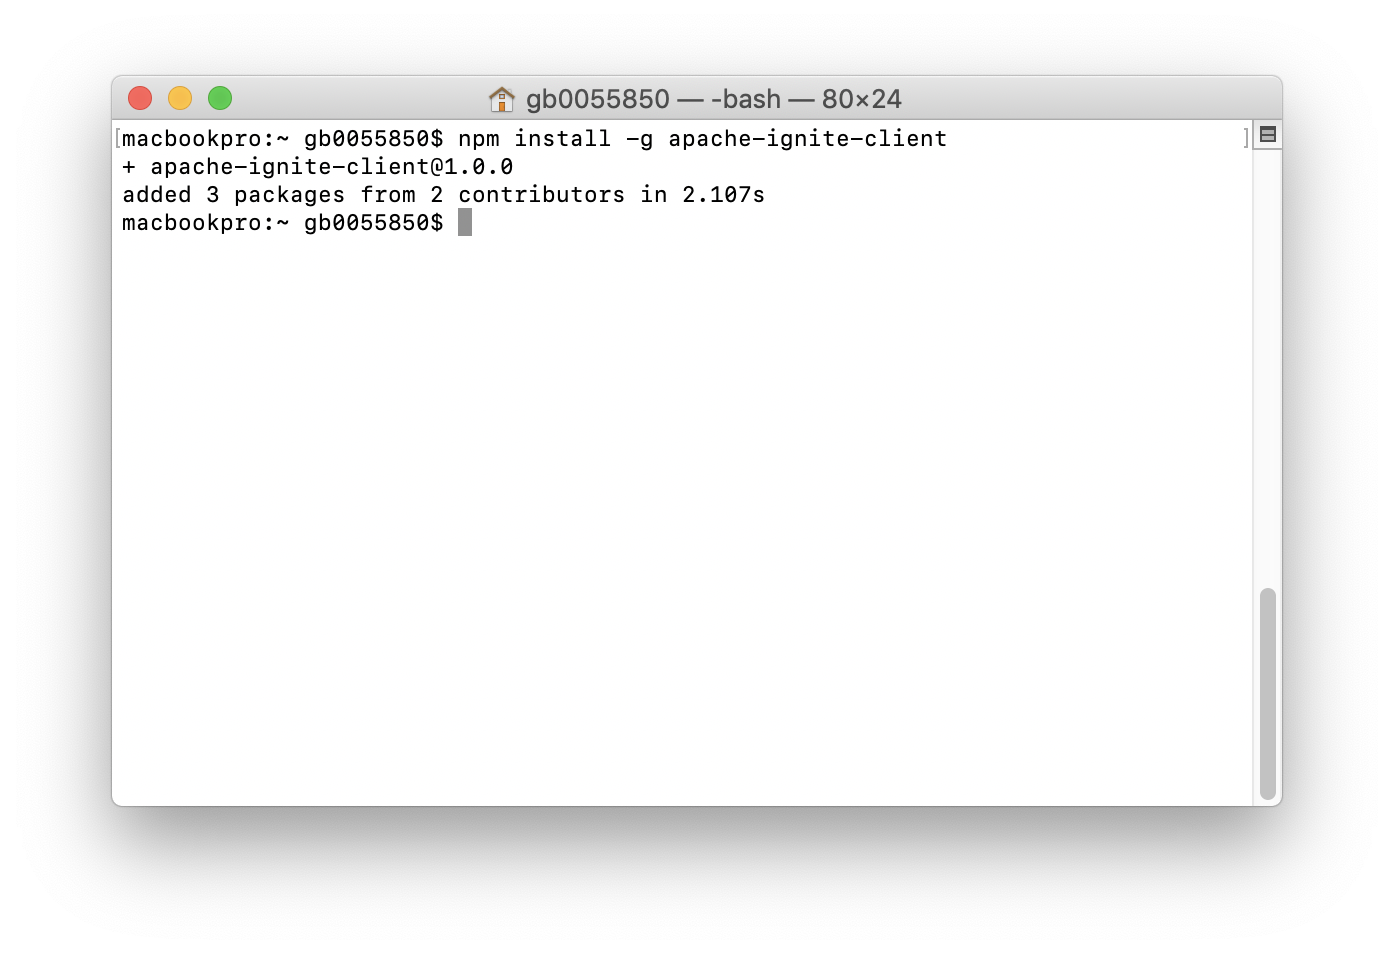
Figure 2. Install Node.js Thin Client.
We can also build the Thin Client from sources and the official documentation contains full details on how to do this.
Node.js Examples
Ignite ships with a number of Node.js examples. However, before we can use them, we need to start at least one Ignite server node. We can do this as follows from a terminal window:
$IGNITE_HOME/bin/ignite.sh
The variable $IGNITE_HOME being set to the Ignite installation directory.
The output should be similar to Figure 3.
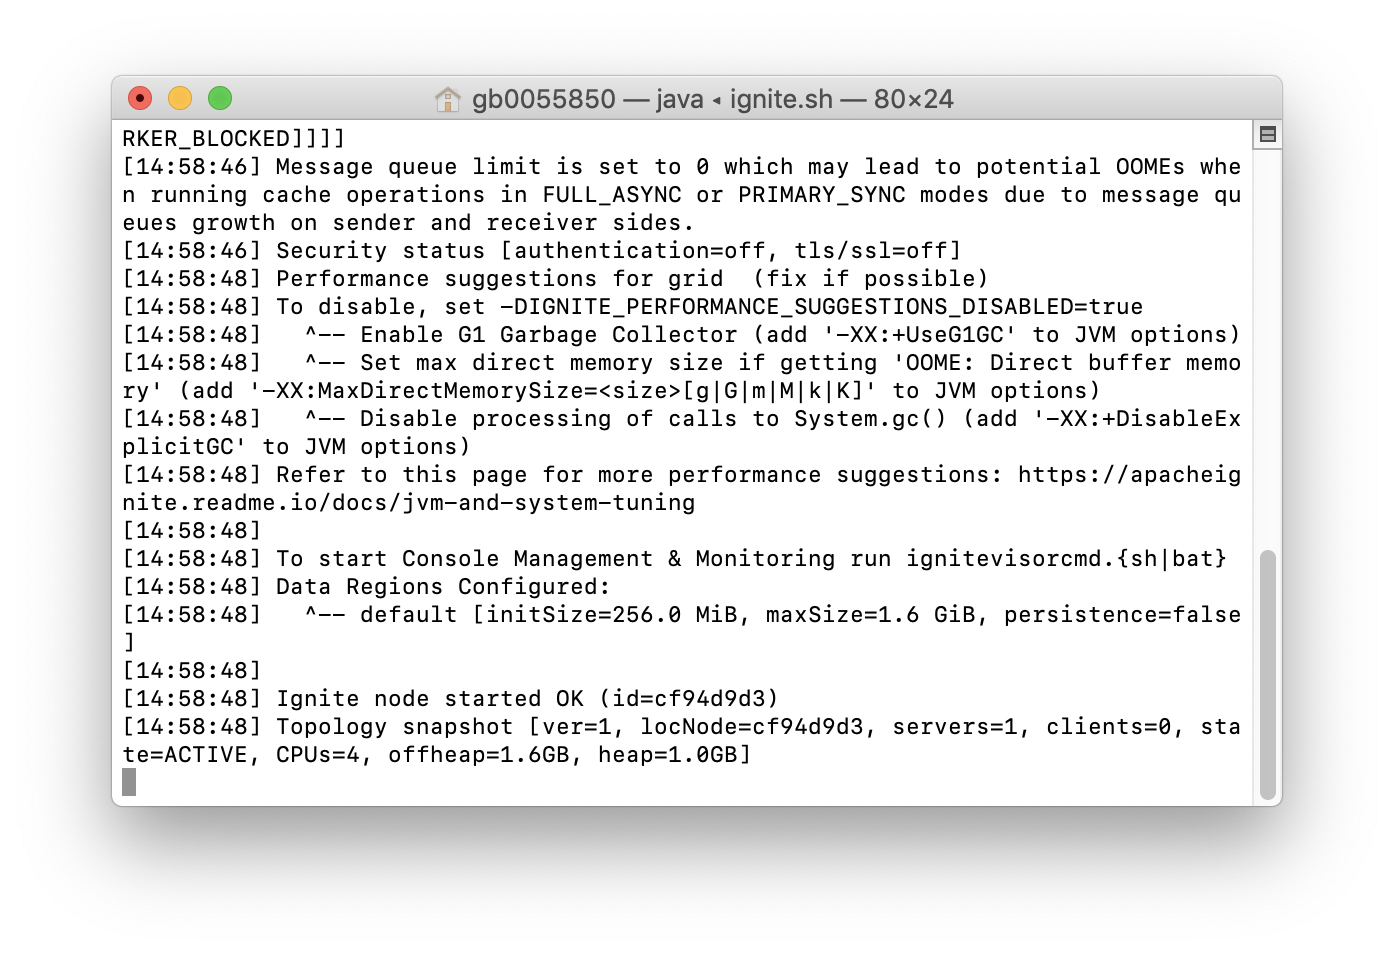
Figure 3. Start Ignite Server Node.
Next, we need to link the Ignite Node.js examples. We can do this as follows from a terminal window:
cd $IGNITE_HOME/platforms/nodejs/examples
npm link apache-ignite-client
Using link provides a quick and easy way to test the Ignite Node.js examples.
Run Example
We are now ready to try an example and from the terminal window in the examples directory, we can do the following:
node CachePutGetExample.js
The output should be similar to Figure 4.
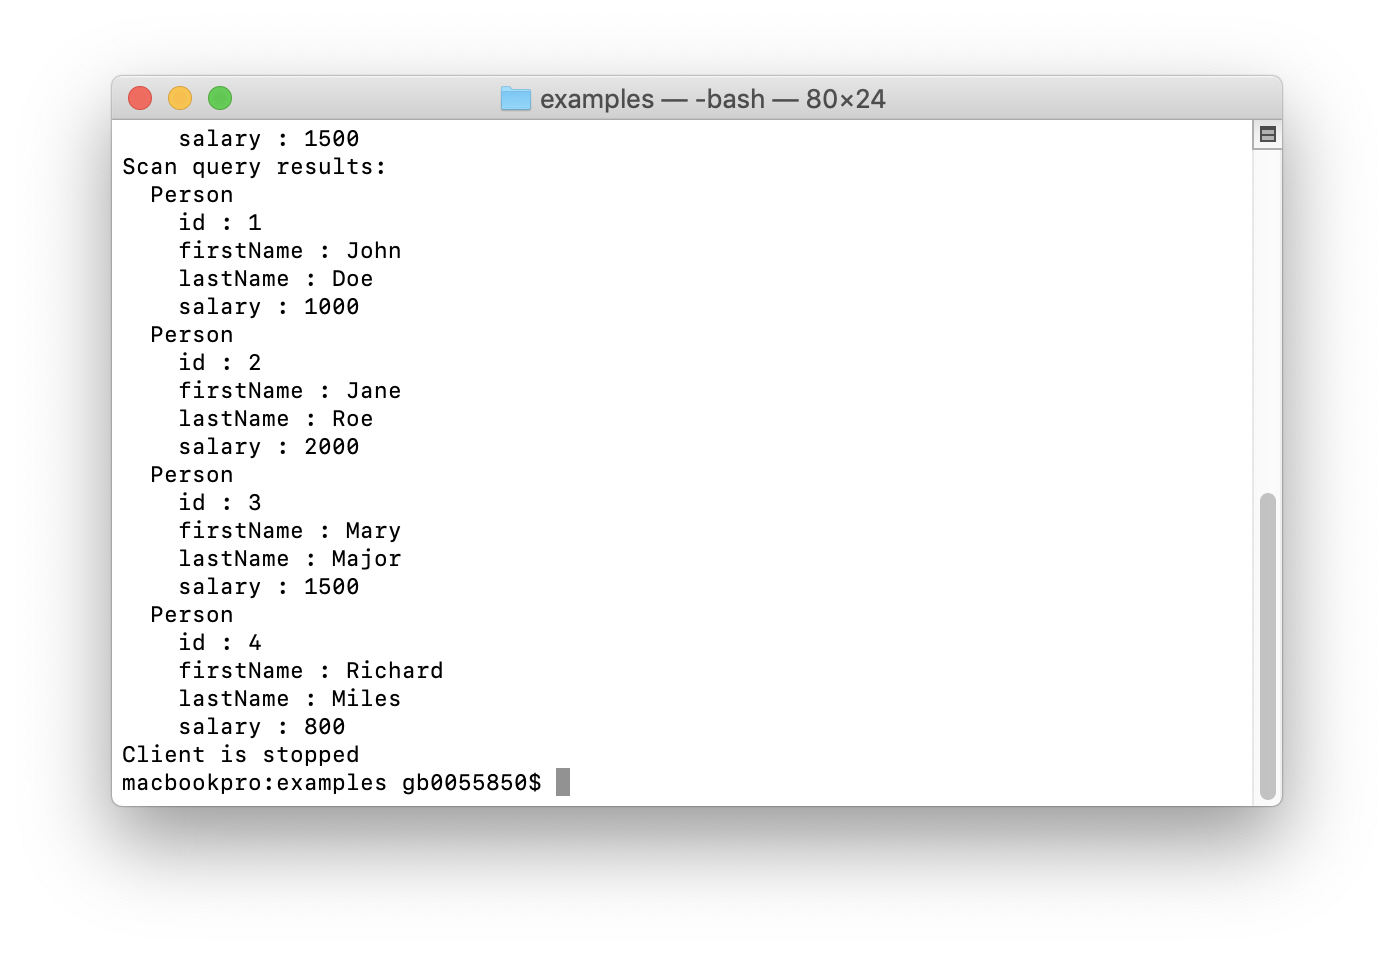
Figure 4. CachePutGetExample.js Output.
Web Console
We can check the Ignite storage by using Web Console. Web Console requires a Web Agent to be running and the option to download the Web Agent is provided from the Web Console. We also need to ensure that the directory:
$IGNITE_HOME/libs/optional/ignite-rest-http
Is copied one level up, so that we have the following:
$IGNITE_HOME/libs/ignite-rest-http
Also, in the CachePutGetExample.js file, we need to comment out the following line:
await igniteClient.destroyCache(CACHE_NAME);
Once we have done these steps, we can restart our Ignite server node, start the Web Agent by navigating to the directory where the Web Agent files have been unpacked and run the following command:
./ignite-web-agent.sh
and run CachePutGetExample.js again. From the Web Console, if we navigate to Monitoring > Dashboard > Caches, we can see that Ignite storage has been created with four Primary values, similar to Figure 5.

Figure 5. Ignite Storage.
Next Steps
There are additional Node.js examples that ship with Ignite and these can also be tested from a terminal window. The official documentation contains further details about the Node.js Thin Client for Ignite.
Summary
In this first article, we have quickly installed Node.js, the Node.js Thin Client package for Ignite and tested an example that ships with the Ignite binary distribution. In future articles, we will look at additional application examples beyond those provided with the Ignite binary distribution. Until next time!