
Introduction
In 2018, GridGain® previewed GridGain Cloud. GridGain Cloud enables a GridGain cluster to be run as a service. It supports both distributed in-memory computing and persistence. A number of APIs are supported:
- JDBC
- ODBC
- Binary Protocol and Thin Clients
- REST
We will look at examples of some of these APIs in this article series.
GridGain Cloud provides compatibility with GridGain Professional Edition (PE), Enterprise Edition (EE) and Ultimate Edition (UE). Furthermore, open source Apache® Ignite™ users can also access GridGain Cloud deployments.
Let's see how to get started with this technology offering.
Getting Started
The first step is to sign-up. This is a very simple process and we just need to visit the home page and click the Start Free Trial button, as shown in Figure 1.
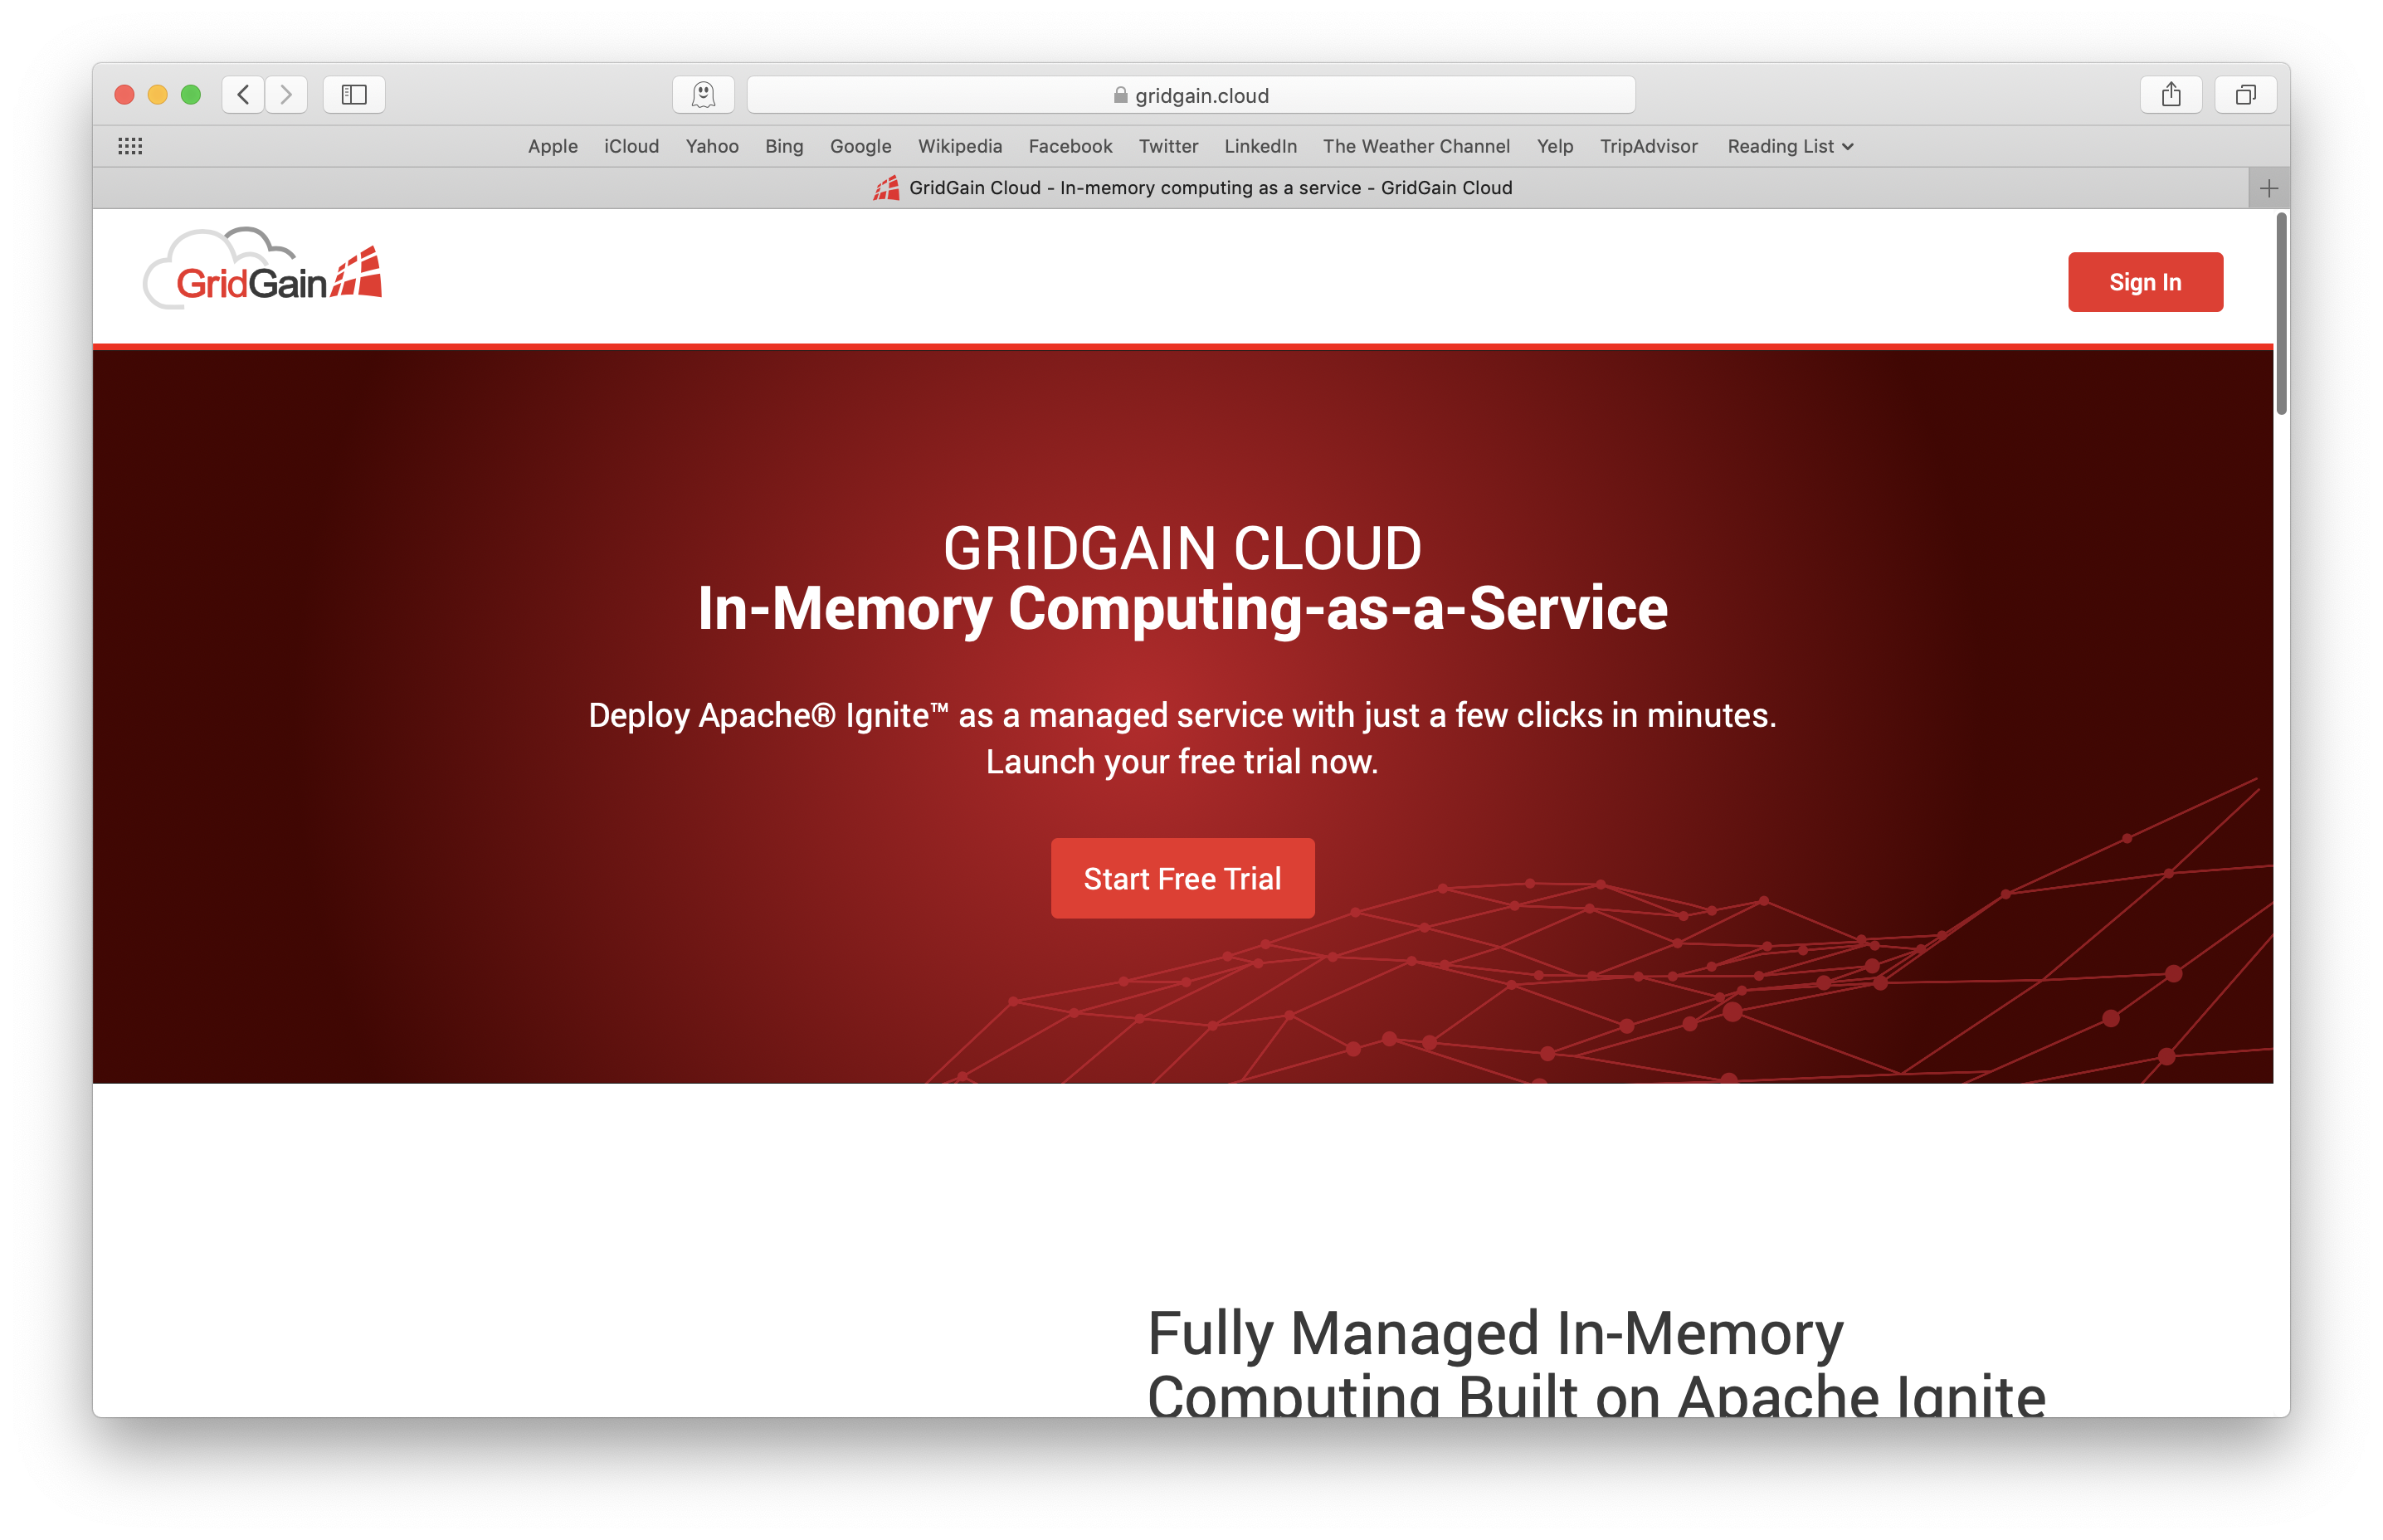
Figure 1. GridGain Cloud Home Page.
Clicking the button takes us to a sign-up form, as shown in Figure 2.
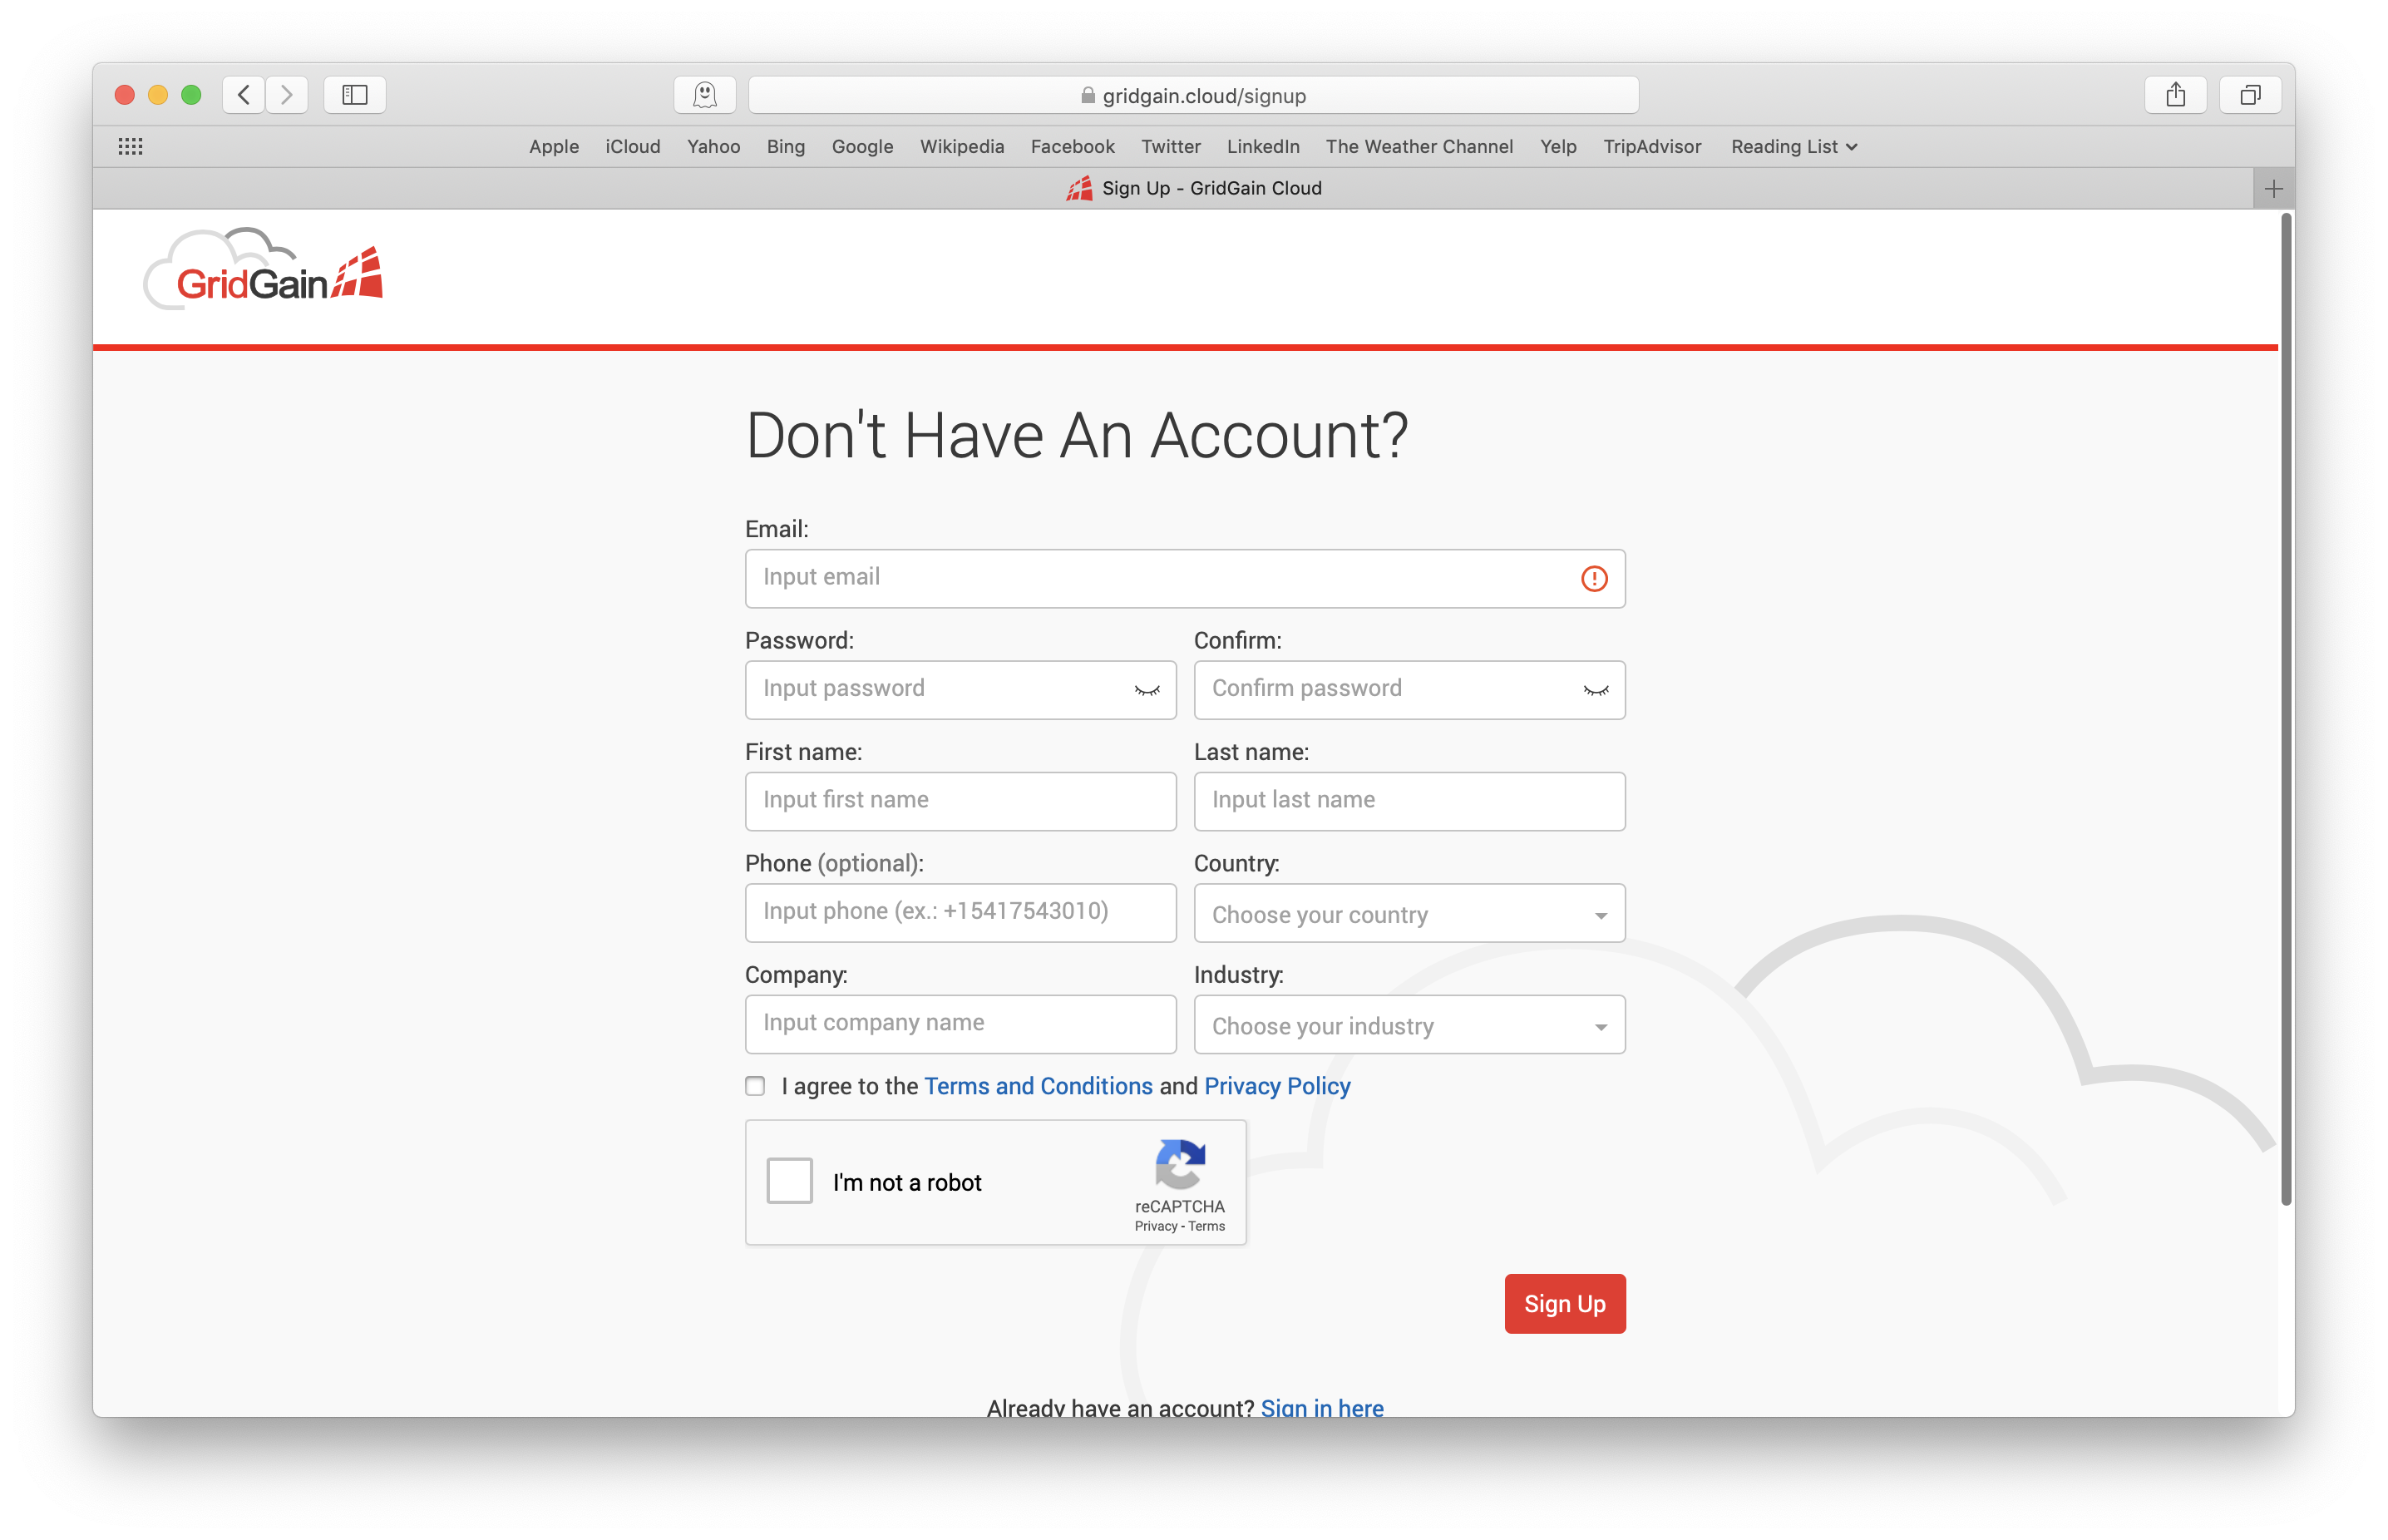
Figure 2. GridGain Cloud Sign Up Form.
We just need to enter a few details and agree to the terms and conditions and then click the Sign Up button.
A confirmation email will be sent to the email address entered on the form. We can then sign-in using the form shown in Figure 3.
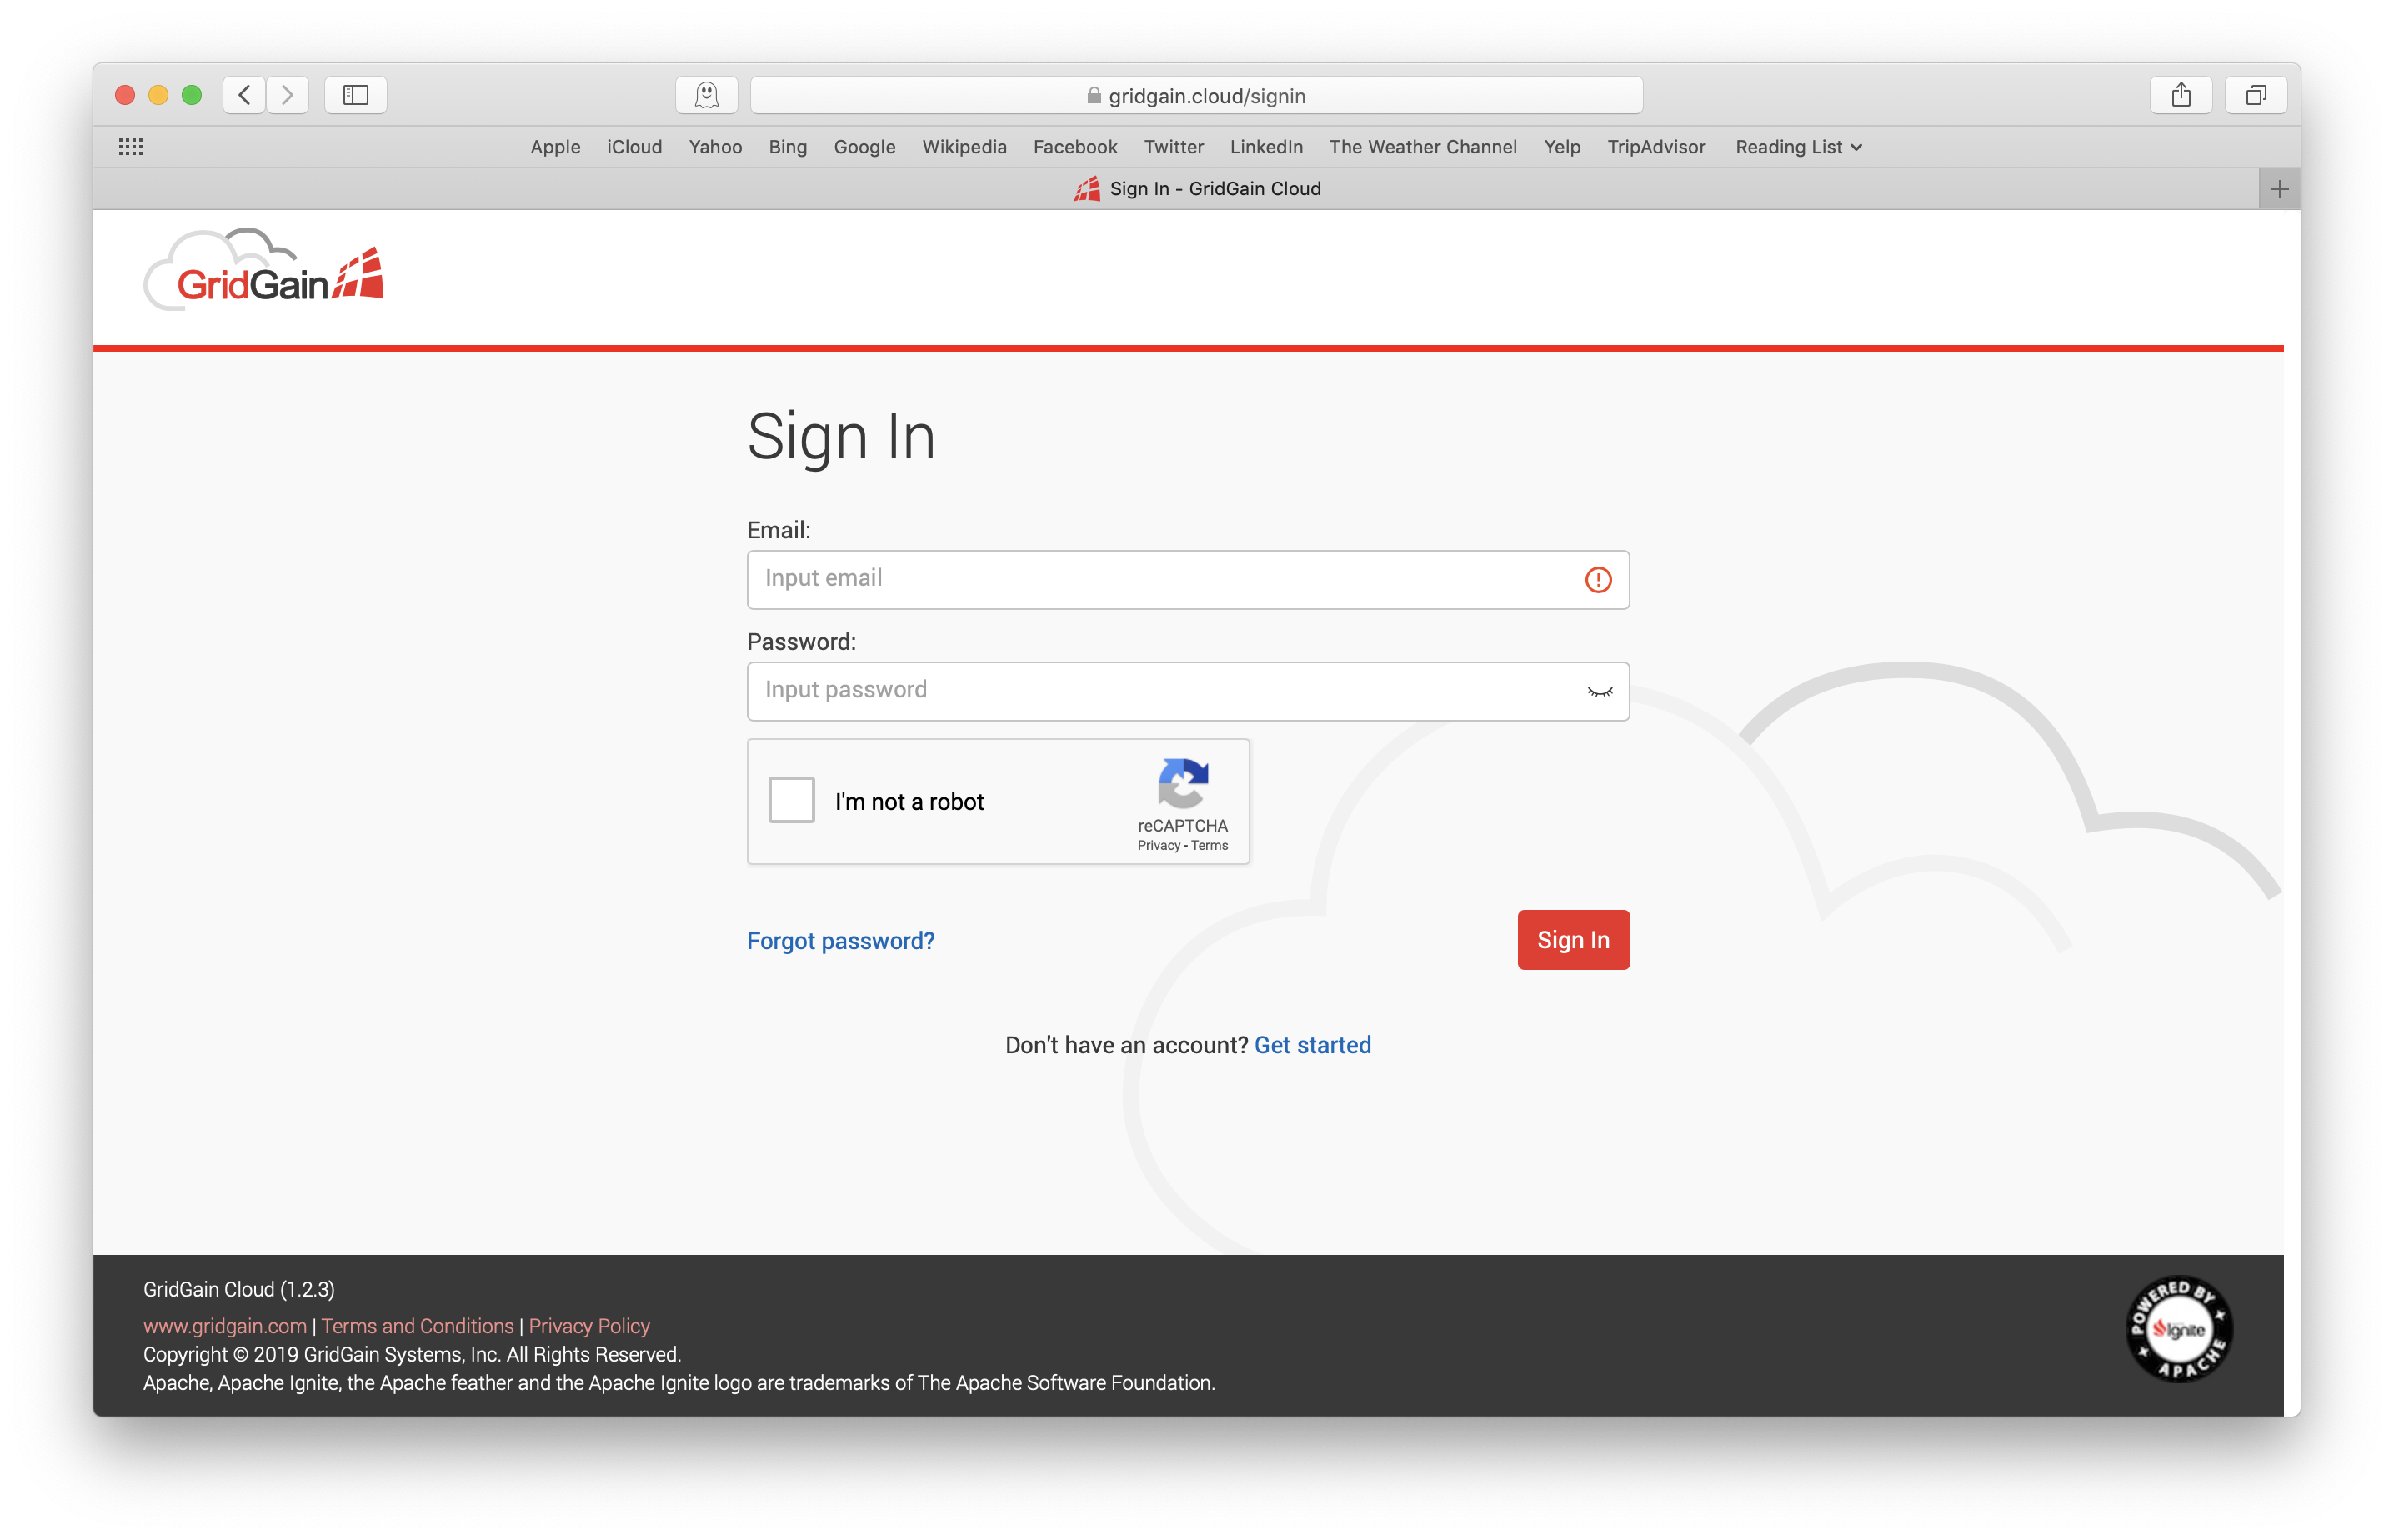
Figure 3. GridGain Cloud Sign In Form.
Creating a Cluster
Once logged-in, we are presented with the options to create a Free Cluster or a Paid Cluster, as shown in Figure 4.
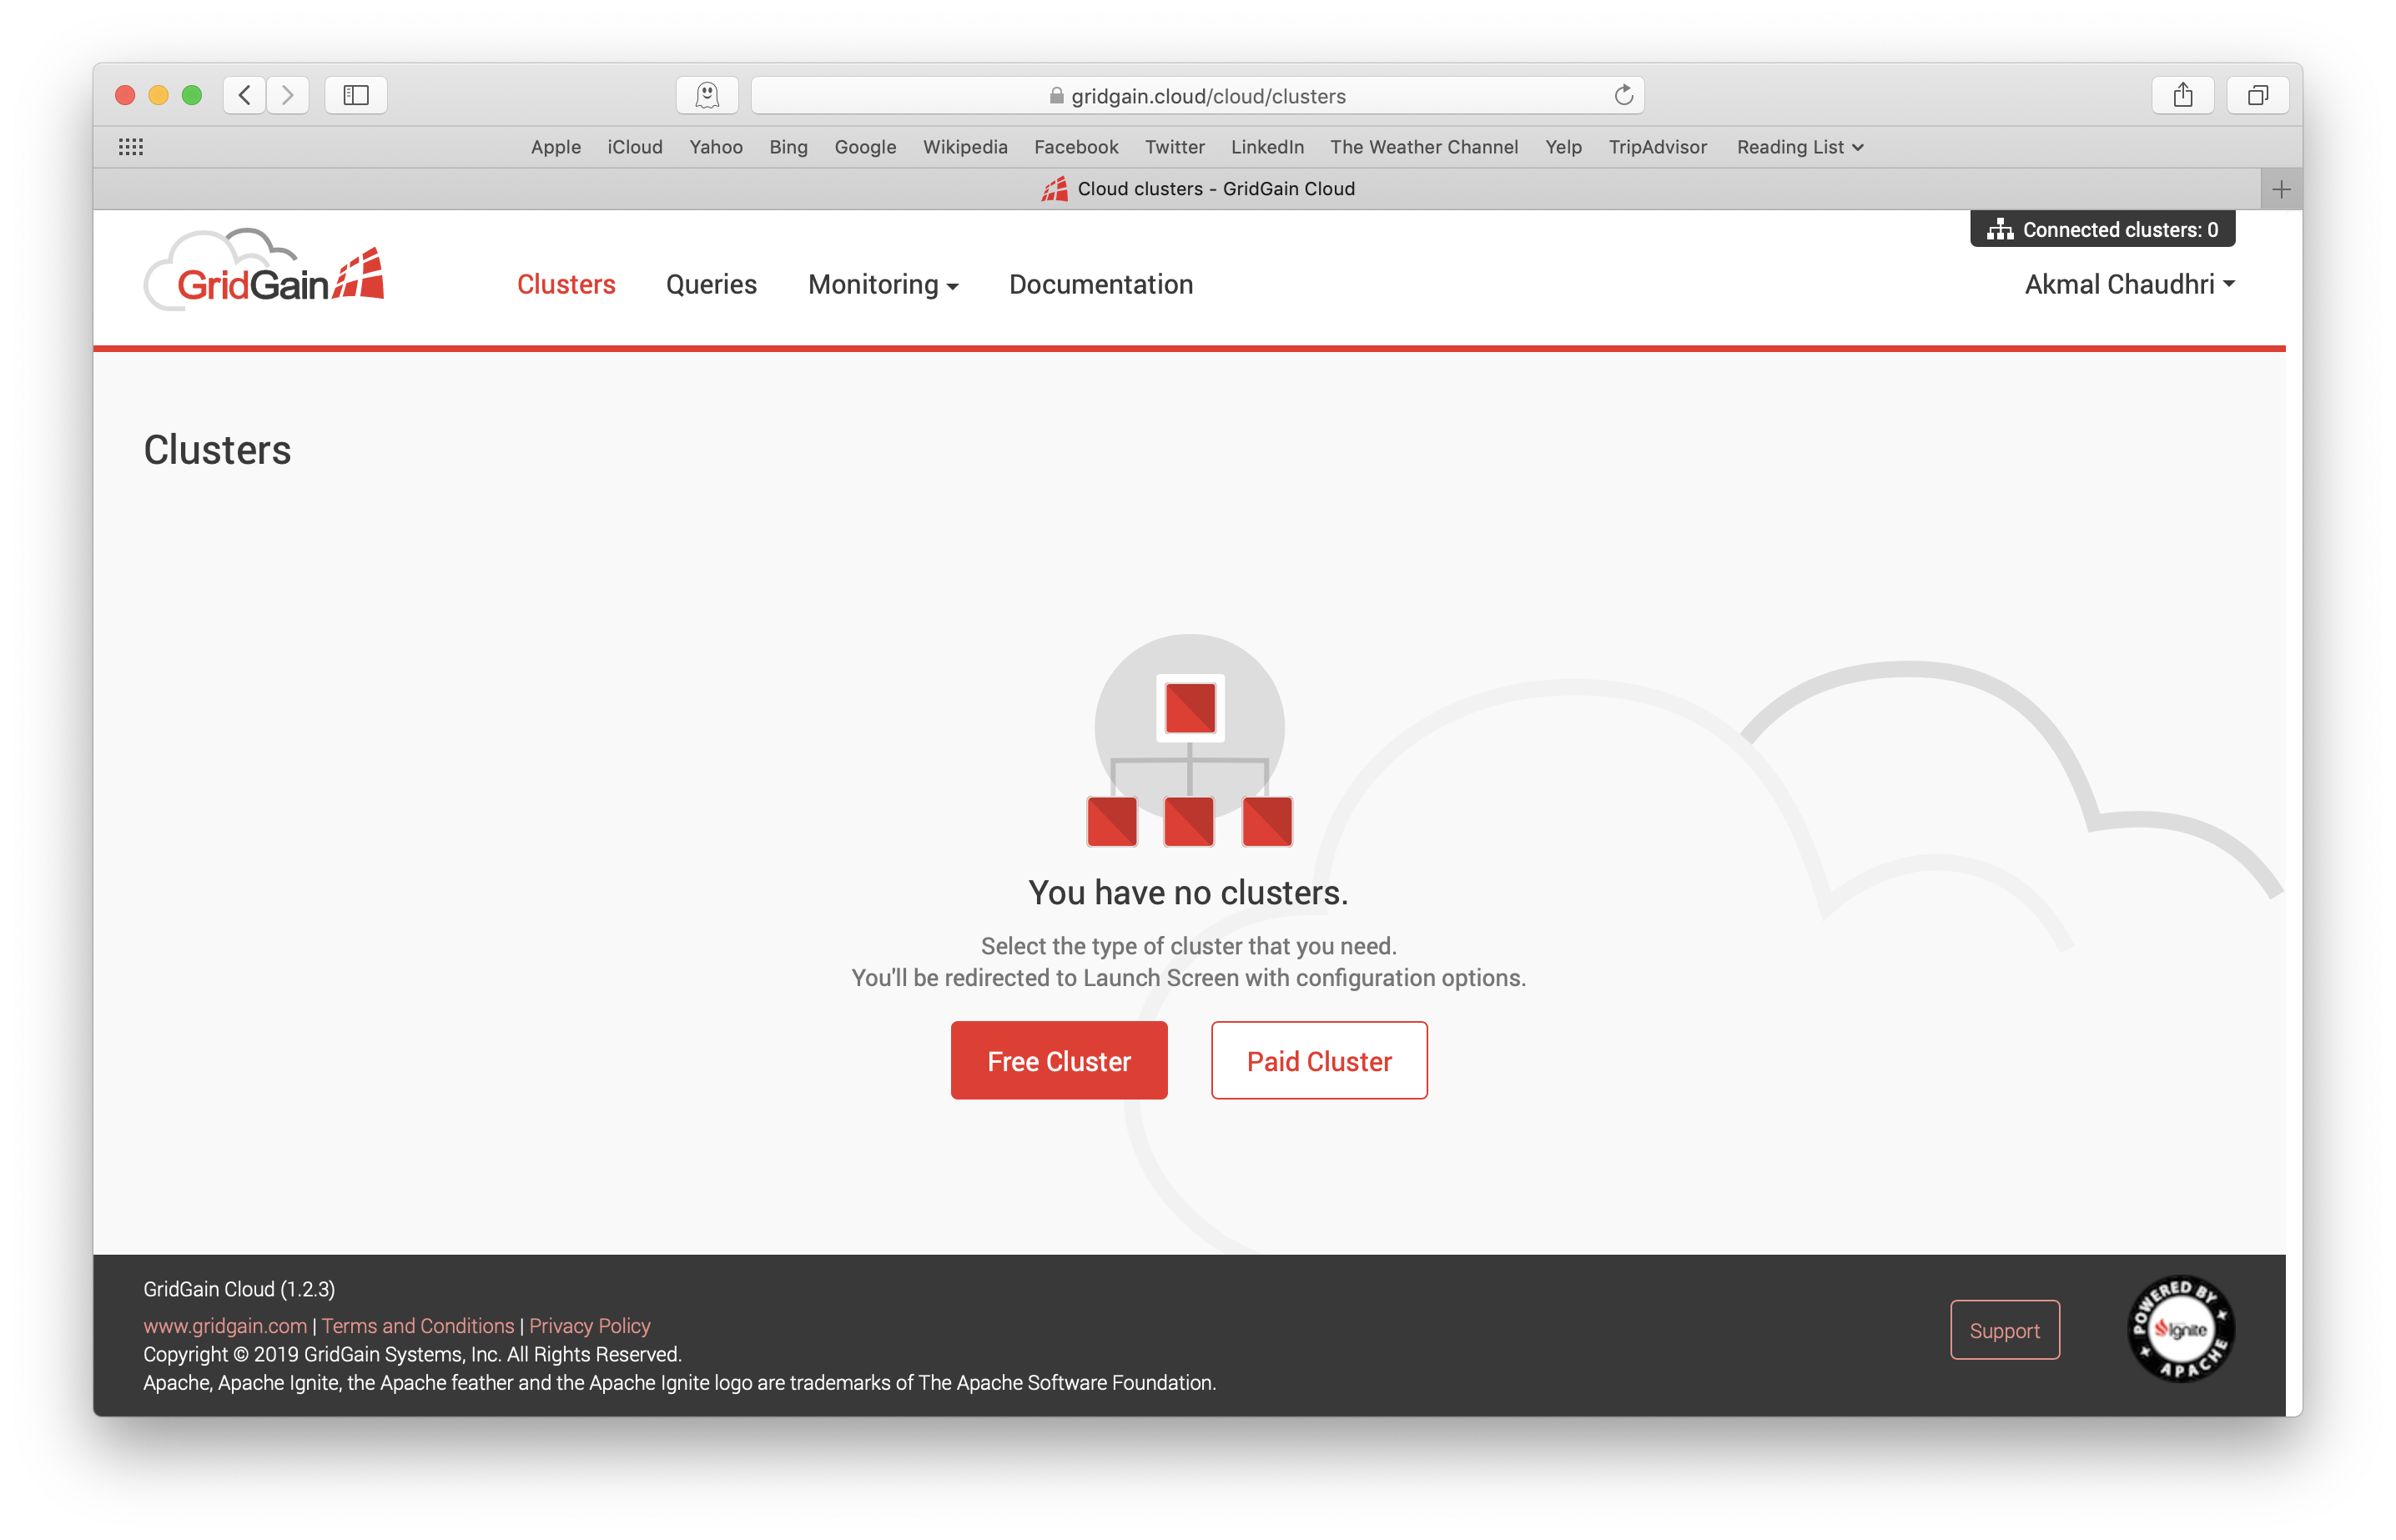
Figure 4. Create a Cluster.
If we choose Free Cluster, many of the configuration options are pre-set, as shown in Figure 5.
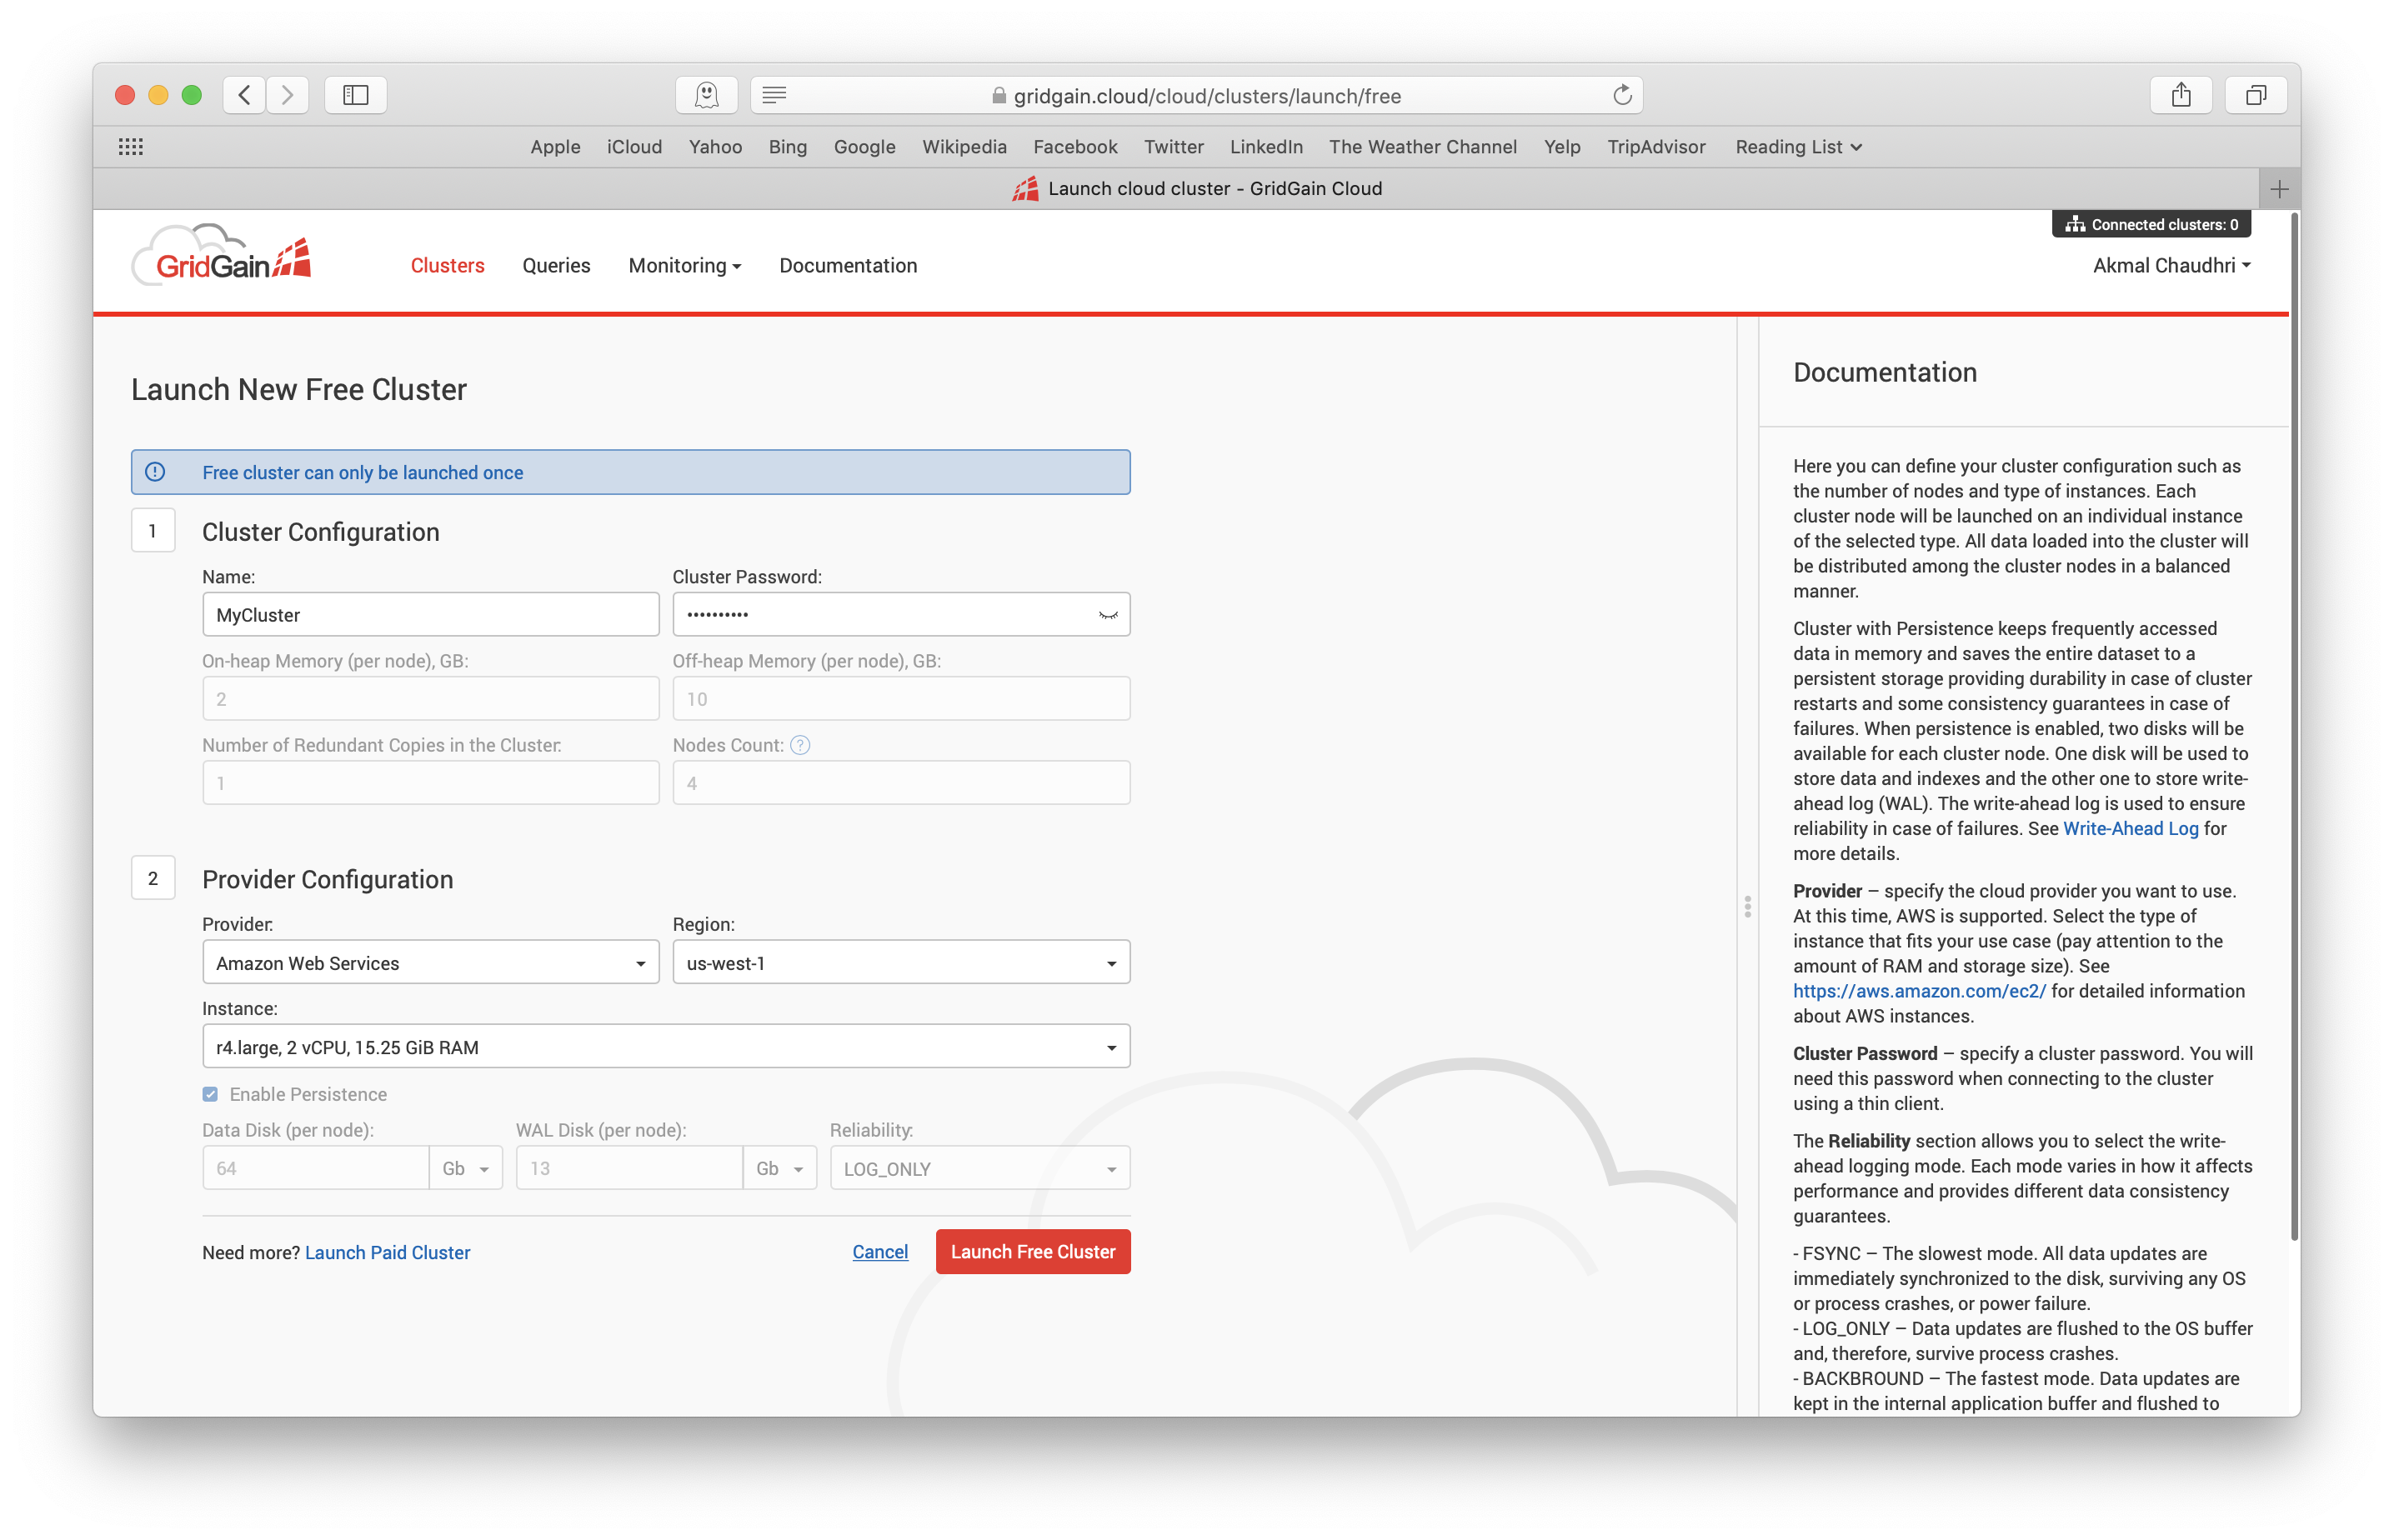
Figure 5. Free Cluster.
Note that the Free Cluster option can only be launched once. The Paid Cluster option gives us many more configuration options, as shown in Figure 6.
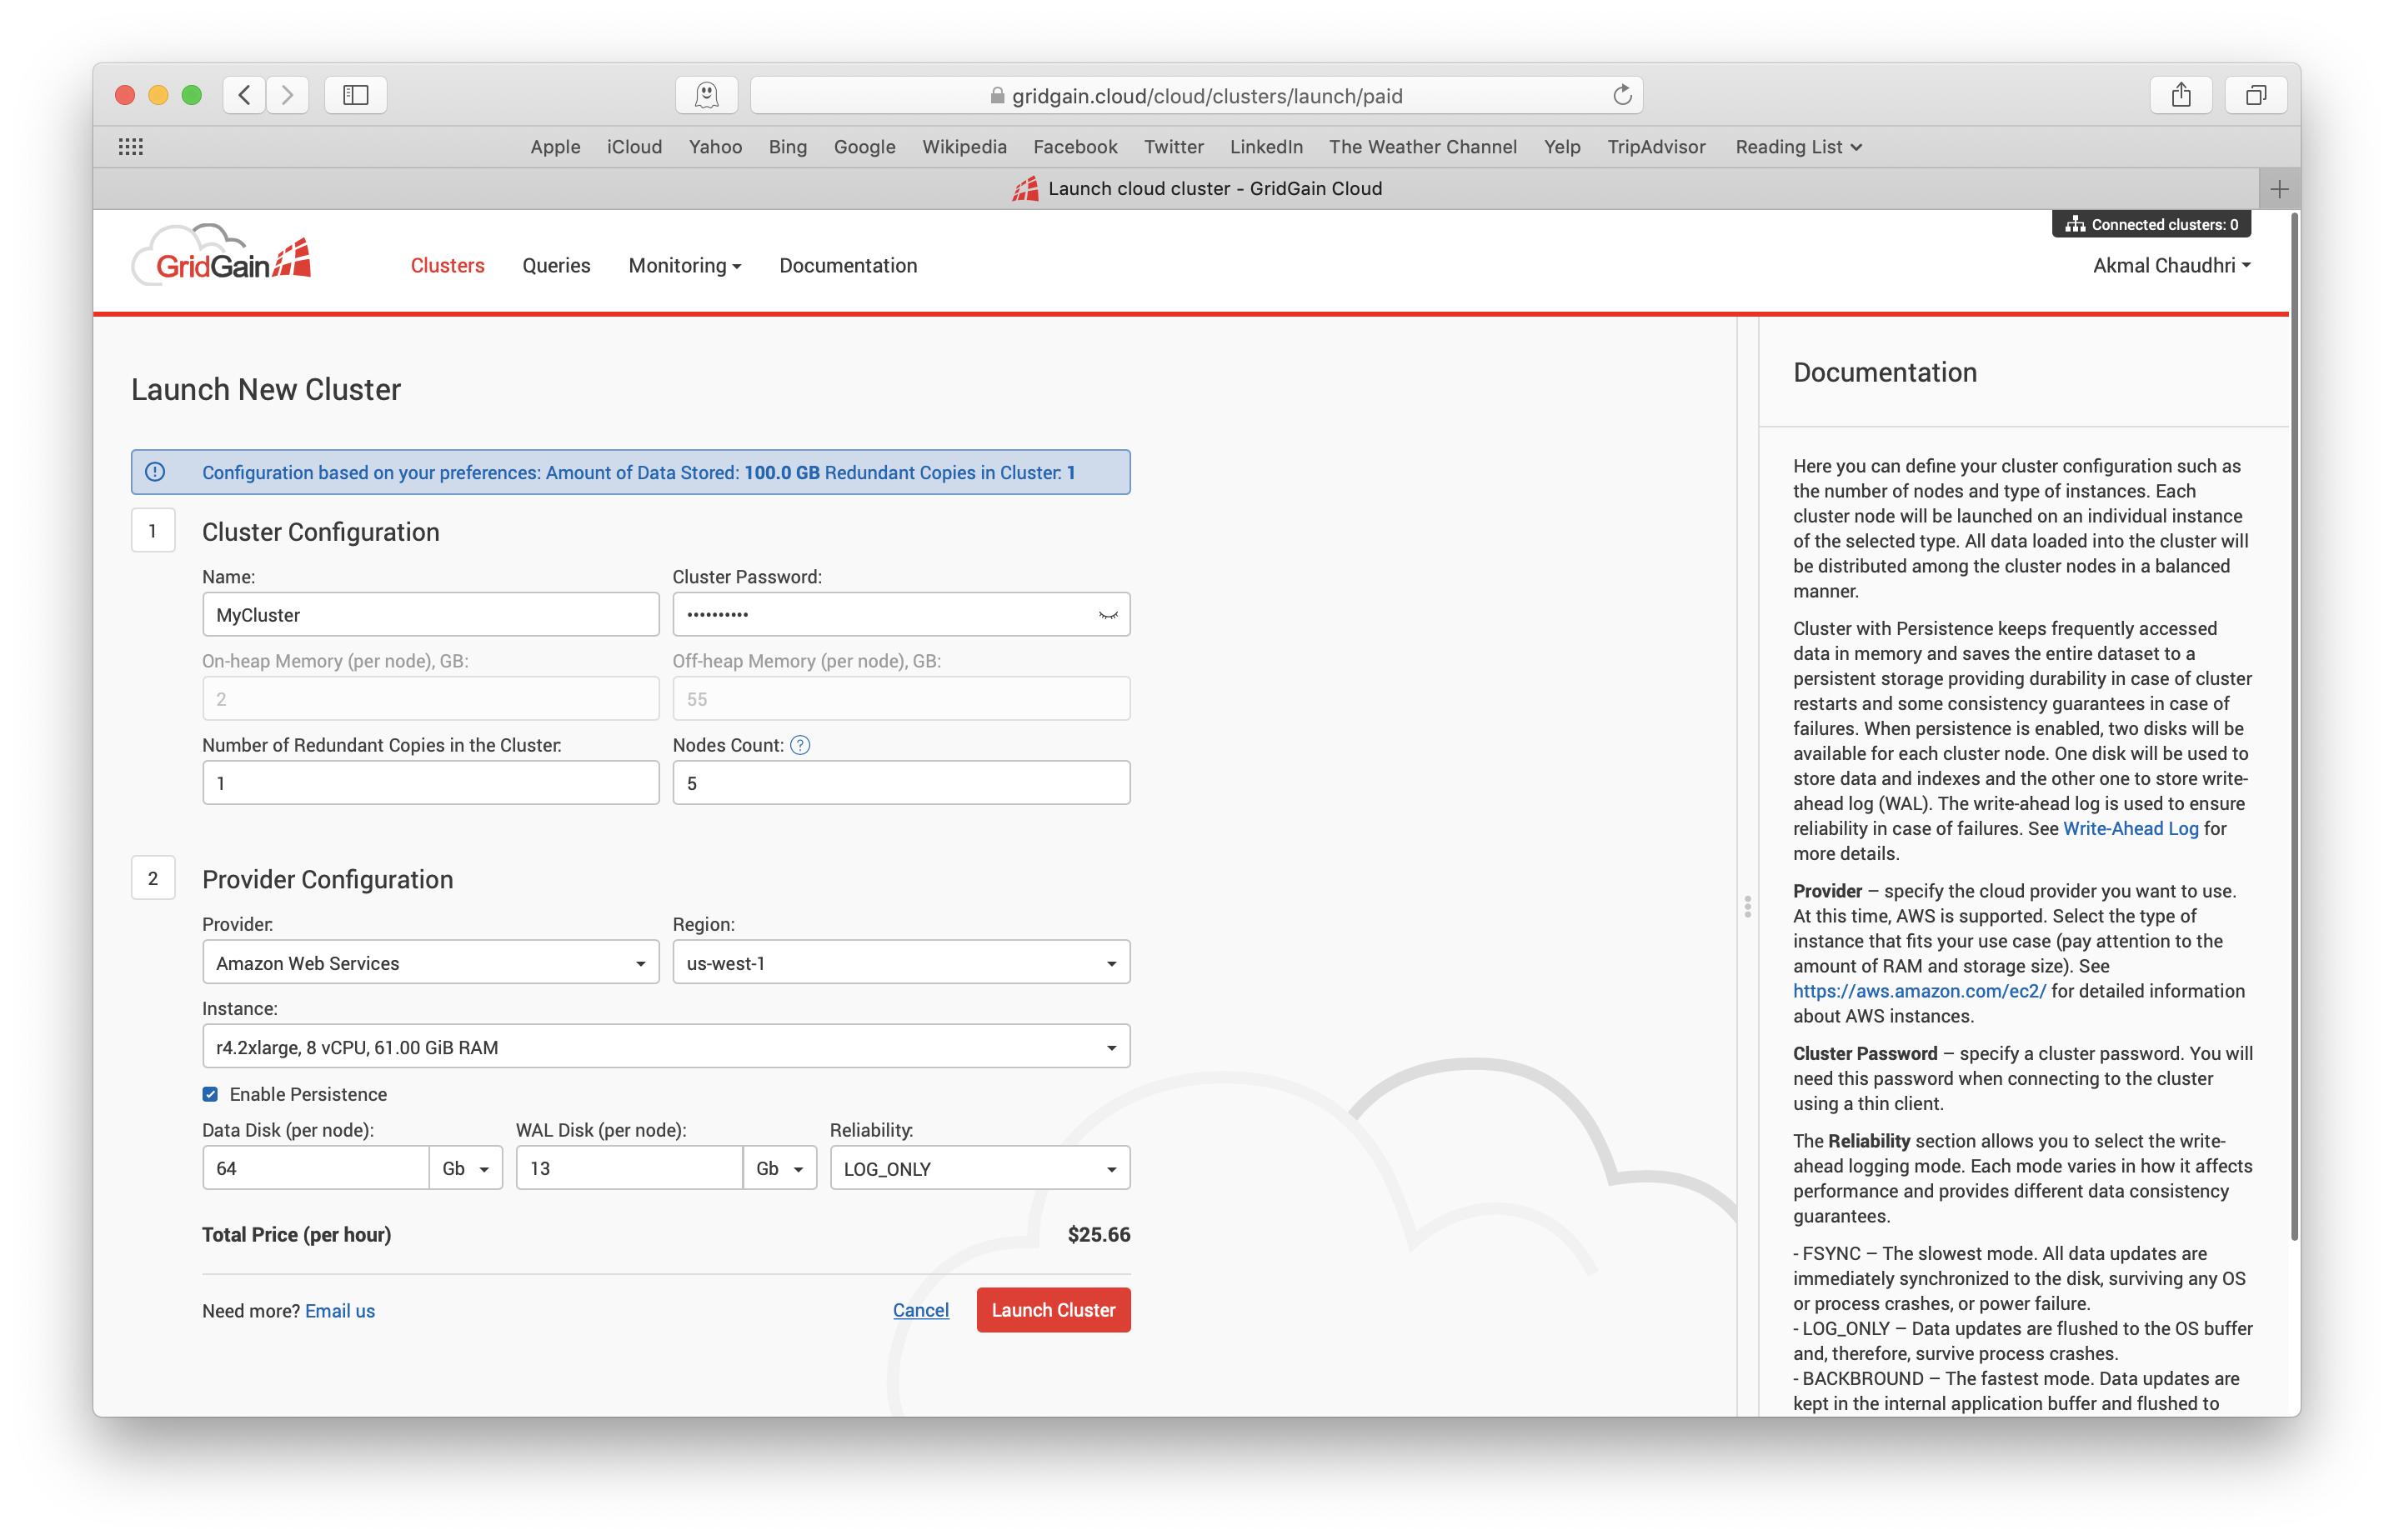
Figure 6. Paid Cluster.
We can easily configure a Paid Cluster to suit our budget and requirements.
Let's launch a Free Cluster. We just need to click the Launch Cluster button. After a short time, the cluster status should change to Running and it will be available to use, as shown in Figure 7.
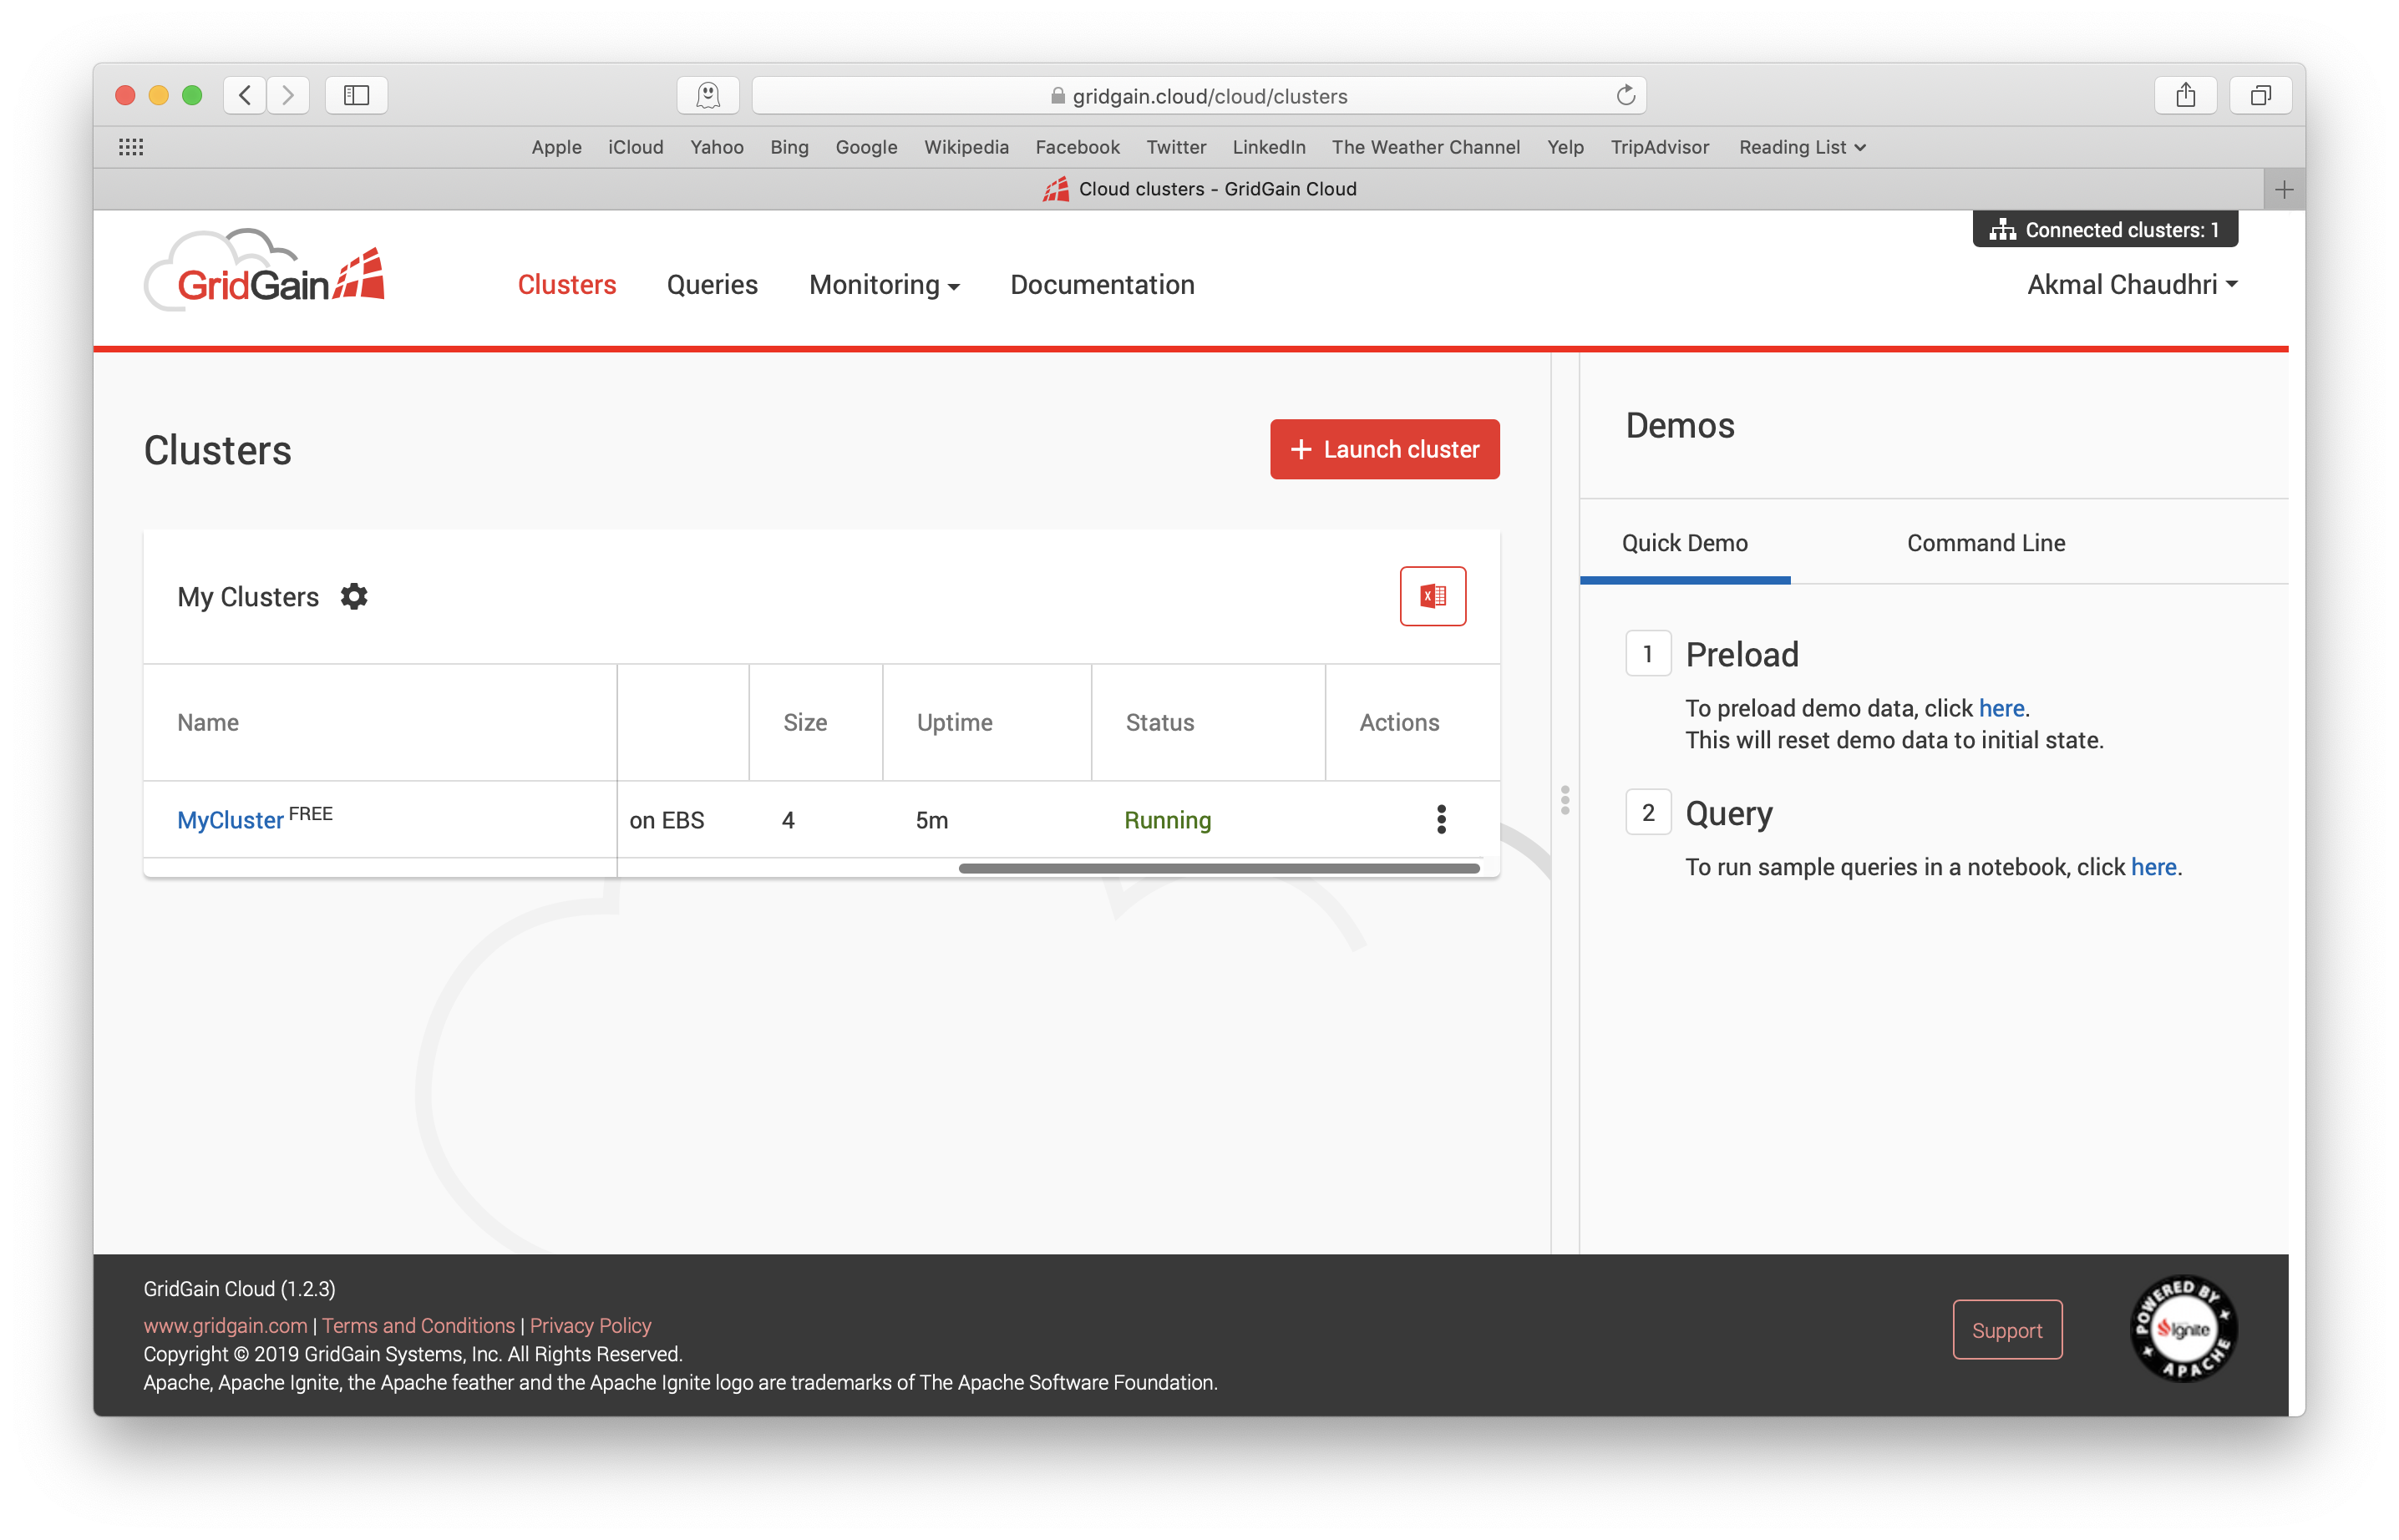
Figure 7. Running Cluster.
We can also see that on the right-hand side, Quick Demo and Command Line Demo are available. Each of these two demos provide step-by-step instructions. Let's run through these demos in turn.
Quick Demo
The Quick Demo consists of two steps:
- Preload some demo data.
- Run some queries in a notebook environment.
Once the first step is complete, a success message appears and we can proceed to the second step.
In the second step, we are taken to a query notebook, as shown in Figure 8.
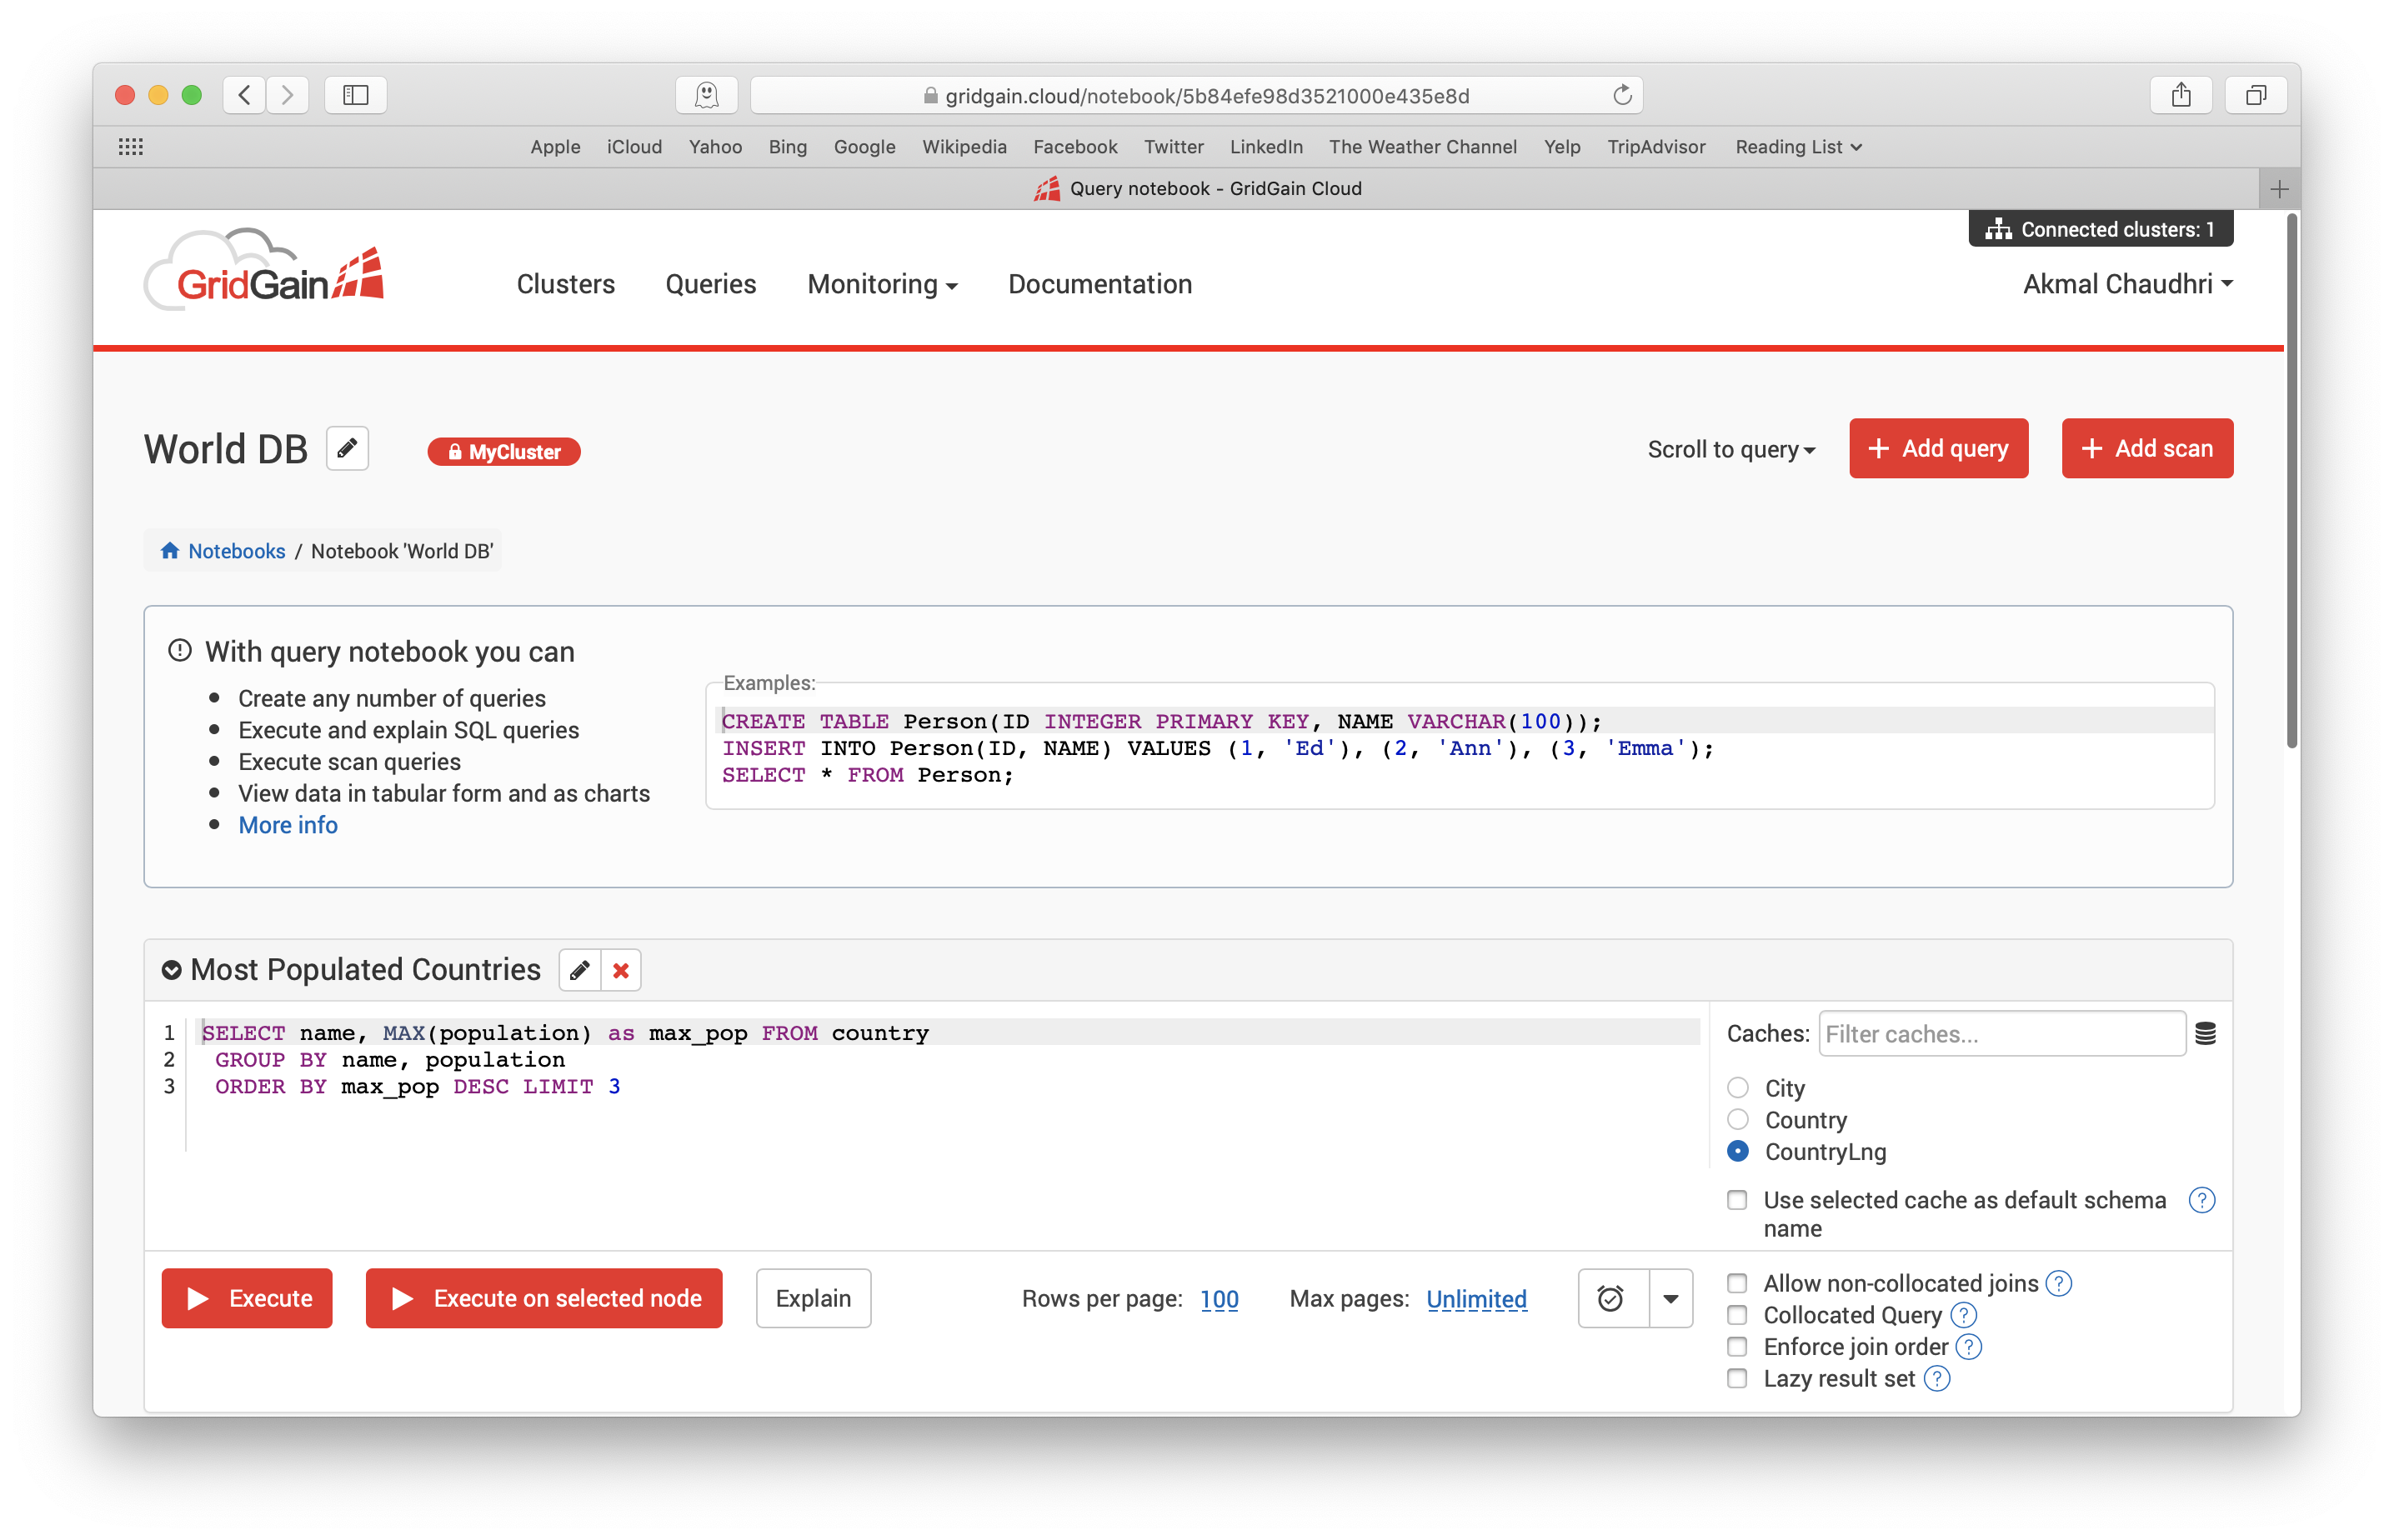
Figure 8. Query Notebook.
We are provided with some example SQL queries that perform read, update and delete operations. We can execute these queries from the notebook and view the output. We can also add additional queries if we wish.
Command Line Demo
The Command Line Demo consists of five steps:
- Download the GridGain Client Pack and unpack its contents.
- Download the Java Key Store and copy it into the bin directory of the Client Pack from step 1.
- From the Terminal, navigate to the bin directory of the Client Pack from step 1 and execute an SQLLine command to connect to the GridGain Cloud cluster.
- Run an SQL script to preload some demo data.
- Execute an SQL query from SQLLine or use a query notebook that provides the same read, update and delete operations as the Quick Demo.
Cluster Monitoring
One of the options along the navigation bar is Monitoring > Dashboard. The Dashboard provides very useful cluster information, such as CPU usage, cache size, caches, and so on, as shown in Figure 9.
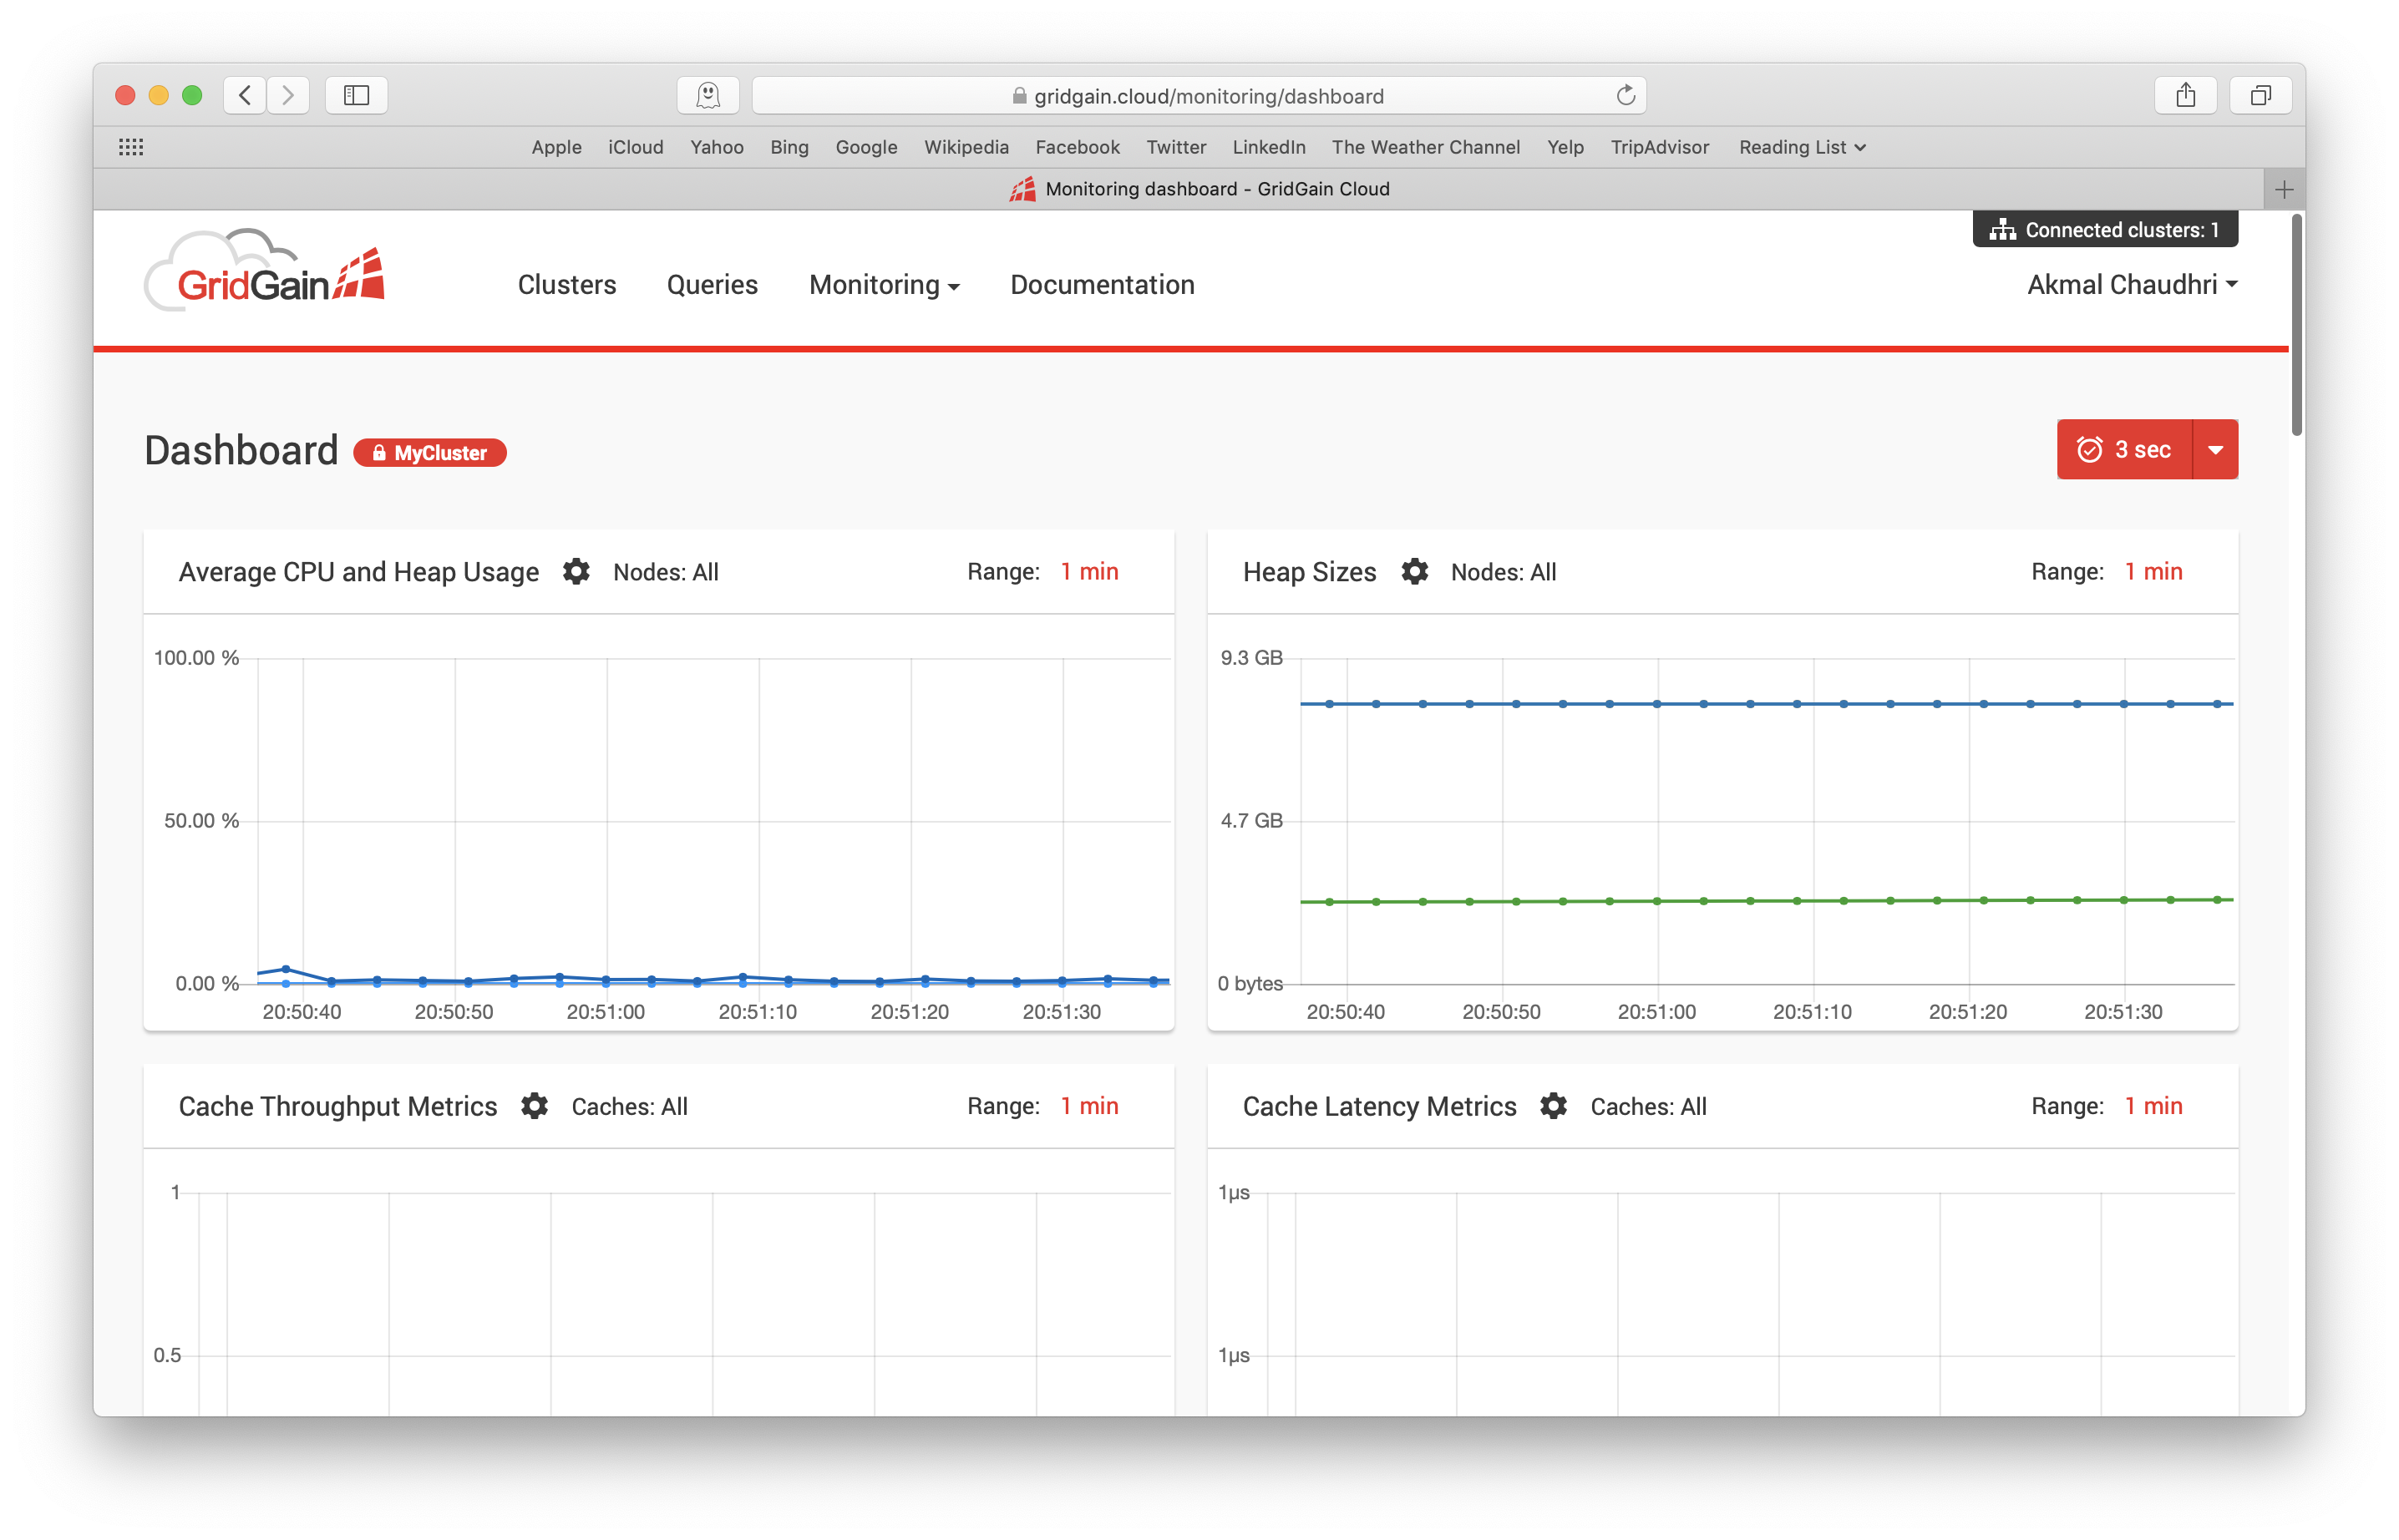
Figure 9. Monitoring > Dashboard.
Stop or Terminate a Cluster
From the Cluster page, we can also stop or terminate a cluster as shown in Figure 10.
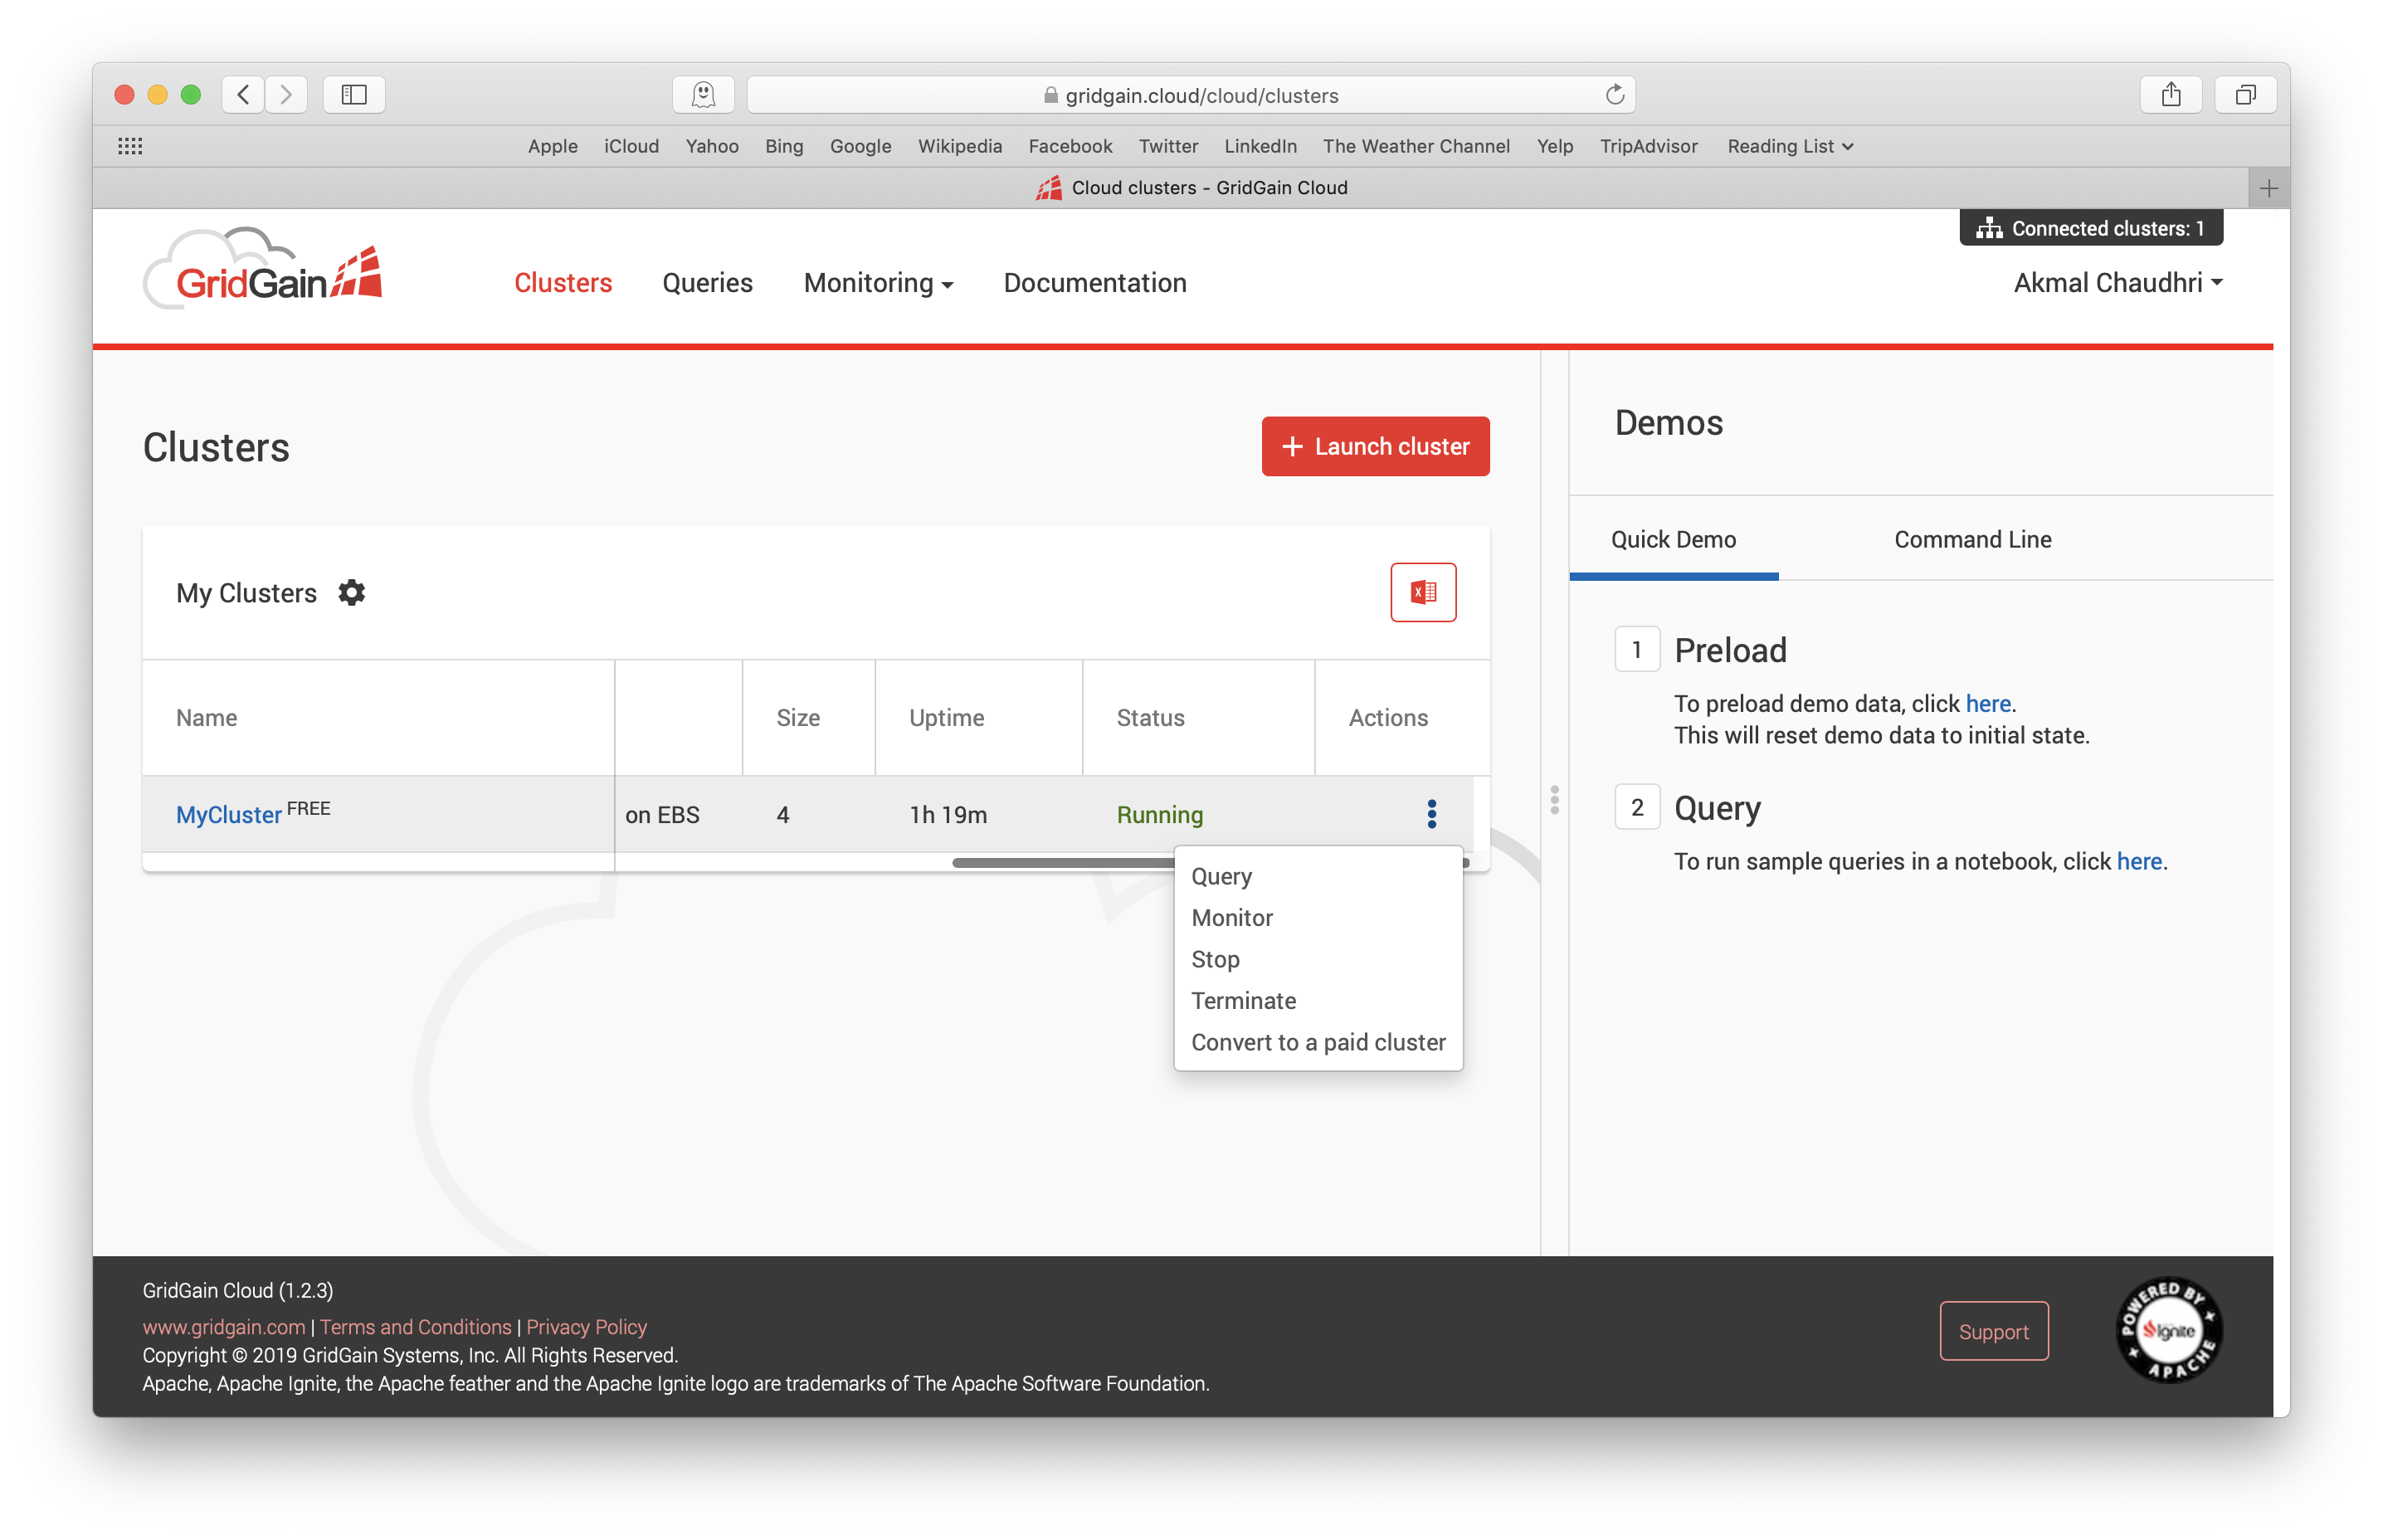
Figure 10. Stop or Terminate Cluster.
For now, we'll stop the cluster and use it again in the next article where we'll discuss additional GridGain Cloud features.
Next Steps
The official documentation provides additional getting started information. There is also a webinar titled GridGain Cloud: Deploy Apache Ignite in Minutes that discusses this technology in more detail.
Summary
In this first article, we have discussed the steps required to sign-up for a GridGain Cloud account, created our first cluster, described the two built-in demos and briefly reviewed the monitoring capabilities. In the next article, we will discuss additional GridGain Cloud features and capabilities. Until next time!